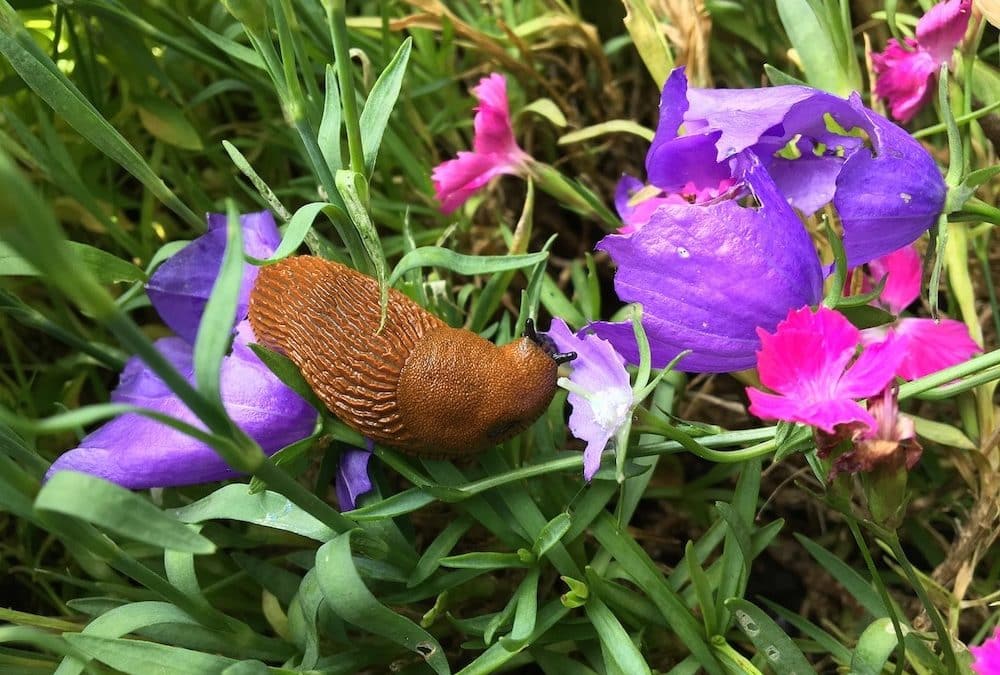
How to Rid your Garden of Slugs and Snails without using Poisons

How to Rid your Garden of Slugs and Snails without using Poisons

When I first moved to the Pacific NW, I found myself living in a moderate rain forest. This of course is what makes it so lush, green, and very beautiful. However, it also means that all kinds of squishy things live there – in particular slugs and snails.

Not all of them are little either! Have you ever seen a banana slug or a leopard slug? They’re huge! Some of these slugs can get to be 4-5 inches (10-12cm) long and even larger.
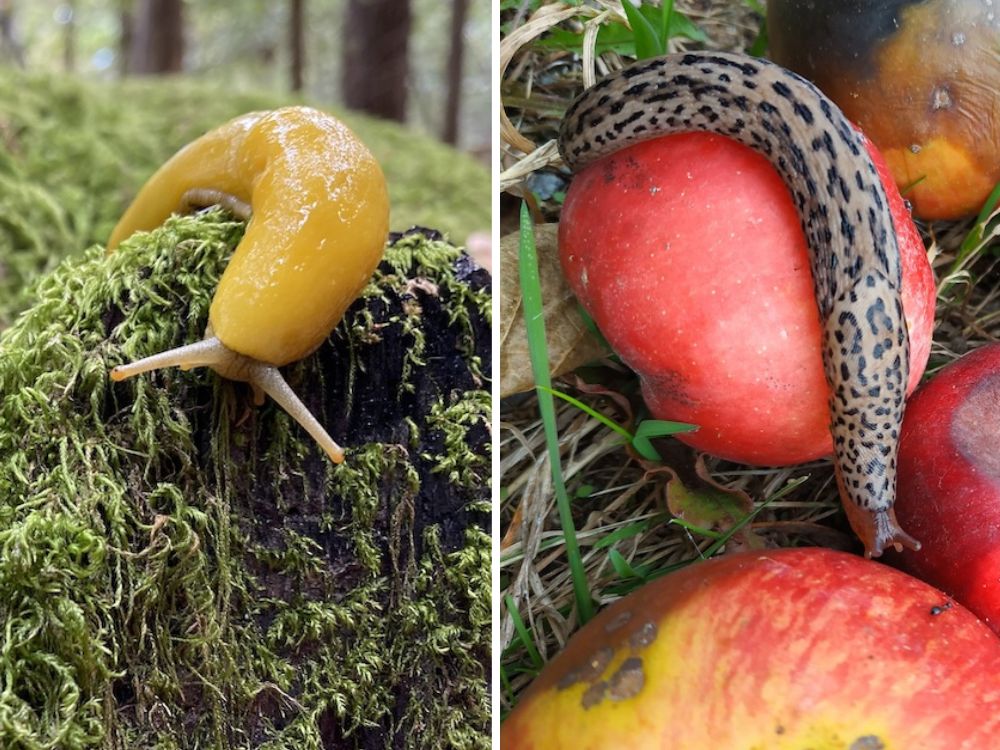
Banana Slug (left) / Leopard Slug (right)

One soggy afternoon, I went for a walk with a friend and was mildly disgusted when we came upon a couple of shiny 5-inch long dog pooh’s in the middle of the sidewalk we were walking on. I thought to myself  “How lazy are the dog owners around here?”  Then, they started to move – ewww!
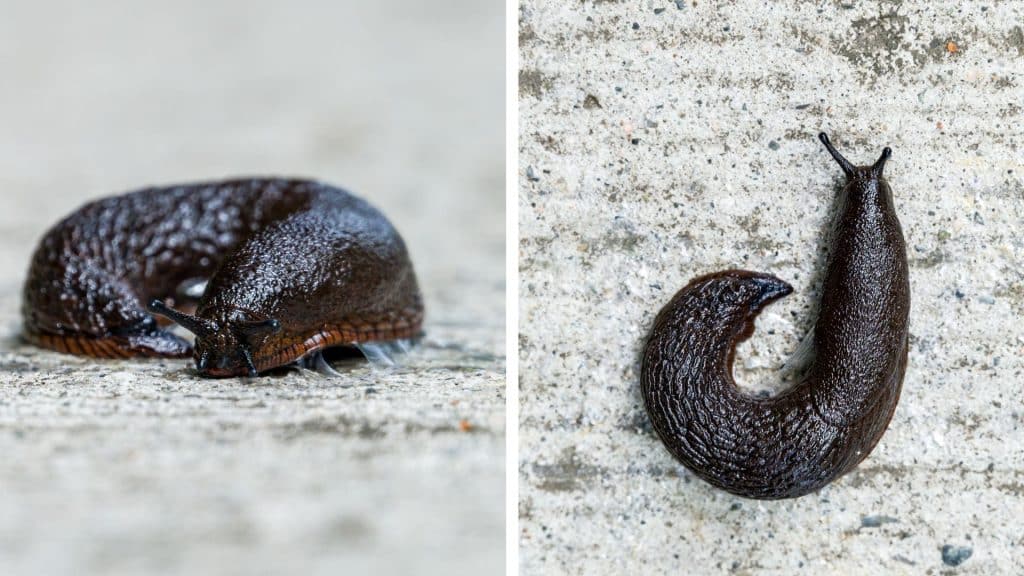
This was obviously not dog poop! As it turns out,  I was seeing two giant black slugs slowly making their way to the grass on the other side of the wet sidewalk.

That was my first introduction to slugs in the Pacific NW.  Being from Colorado which is very dry, I’d never seen anything like that before!  Colorado slugs are small and brown, and hang out at the base of shrubs and gardens and are rarely seen. They were nothing compared to these giant monsters that apparently, like to go out for a casual stroll through the neighborhood! Yikes!

Plus, there are trillions of little snails everywhere – 5 tiny snails got caught in my hair once just by brushing past some ivy growing on my house… nice.
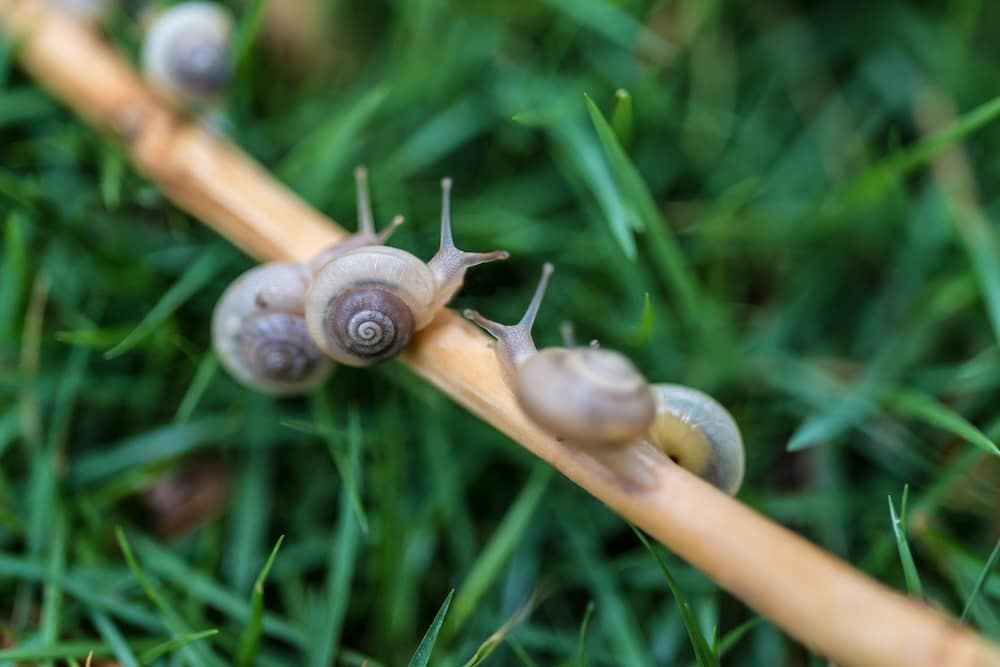
 Tiny Snails Everywhere!


ANYway, I had a couple of little petunia and pansy gardens in my backyard, and I also had some strawberries growing in a container in the front yard.
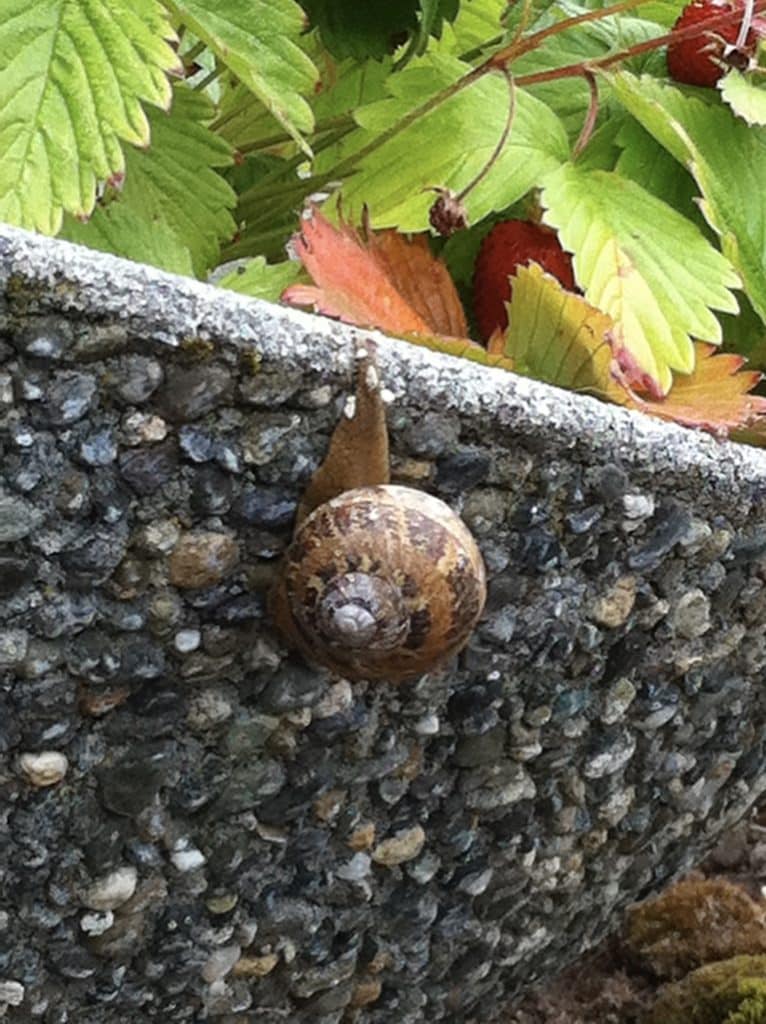
Headed to Breakfast. A snail on a planter in my front yard

As it turns out, slugs and snails just love petunias, pansies, strawberries and raspberries to name a few. Heck, they’ll eat anything floral, leafy, fruity, or very important to you.

Overnight they feasted on my flowers and by the next morning I was left with nothing but stems. Something had to be done!

Since I had two cats and two dogs that played in that yard, I only wanted a natural solution – no poisons or chemicals – not with little furry feet wandering about.

I checked with some of the local garden centers for something natural and pet-safe to use. Instead of being sold a product, this wonderful clerk gave me a simple tip for umm, redirecting them as it were.


Here’s what you do:

  • Fill shallow tins (like tuna or cat food tins) 2/3rd full with cheap beer ($1.49 a quart) and place them on the ground where slugs or snails are grazing on your prize whatever’s.
  • Put the tins out at twilight or just after dark.  I do it then because that’s when most slugs and snails are out and about. During the day they are usually hiding under a rock or someplace wet, cool and out of the sun.
  • Important: Pick the tins up in the morning and empty them in the toilet in order to keep pets from eating or drinking the potentially toxic slug filled beer.

 Here’s what happens:

Apparently, slugs and snails are more attracted to the hops in the beer than they are to the flowers. They climb into the tin, get drunk, pass out, and drown. I know it is kind of sad, but it’s better than torturing them with salt or poisons. And at least they get to party a little bit before the end.


IF YOU HAVE PETS:

  • Keep pets (like cats) inside overnight after you put the tins out because they like beer too. I found that if the slugs and snails didn’t get to the beer first, then the cats always ended up drinking it and getting drunk. Which was ok for the cats I guess, but it didn’t promote my cause at all!
  • Accompany your pets outside at night to make sure they don’t drink the beer, unless of course it’s in a place they can’t get to.
  • You must empty the dead snail-filled tins every morning or there is the chance that your pets or local wildlife will drink what’s left of the beer and potentially eat the dead slugs/snails, which can be toxic.

And there you have it, a natural and fairly simple solution to a slimy garden problem.

Slugs and snails can be found anywhere it’s wet, and where food can be found. They can ruin any flower or vegetable garden if not kept in check.

Good luck. Let me know how it works out for you.

Bloom On!


Views: 13

Best Hummingbird Feeders To Attract More Birds

Best Hummingbird Feeders To Attract More Birds

What Features Make the Best Hummingbird Feeders?

Interestingly, the types of feeders that hummingbirds are most attracted to turns out to be the same inexpensive feeders that are sold everywhere.


The Most Important Feature is Color.

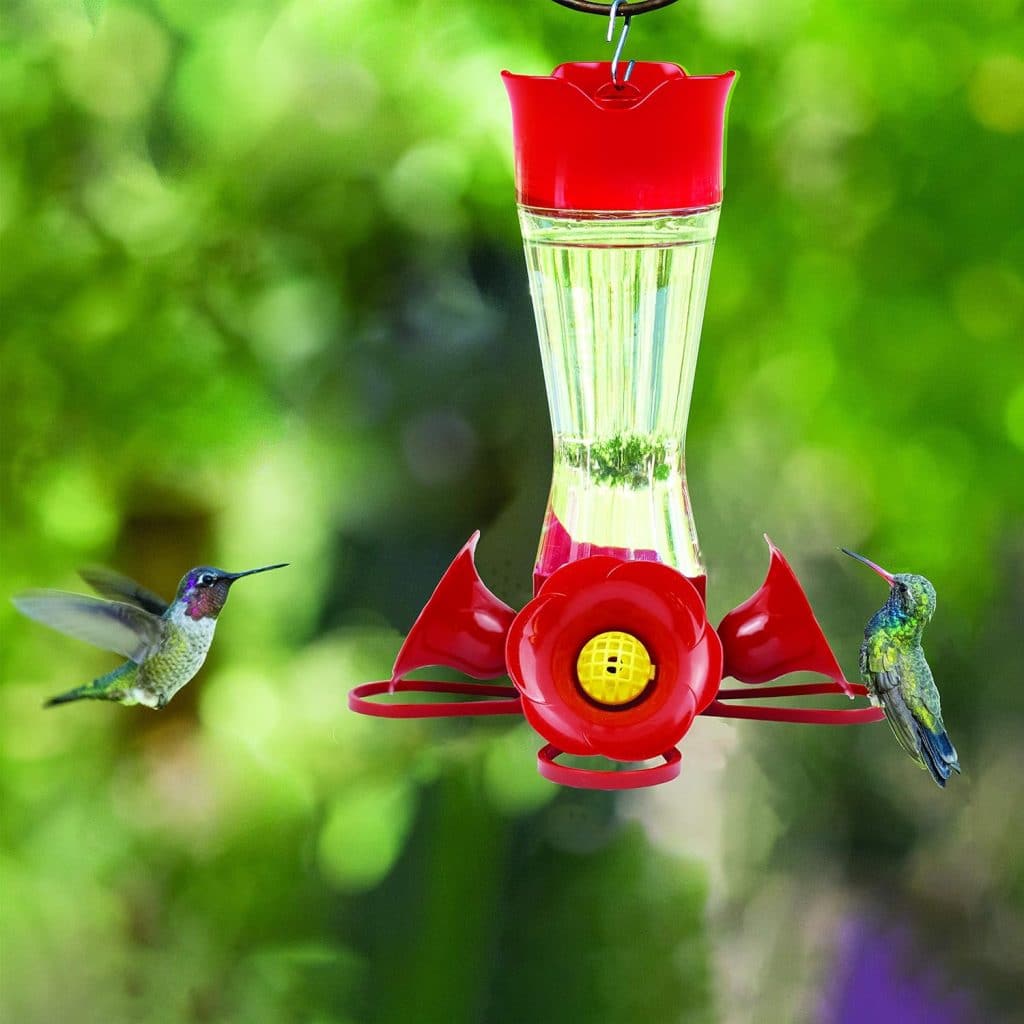
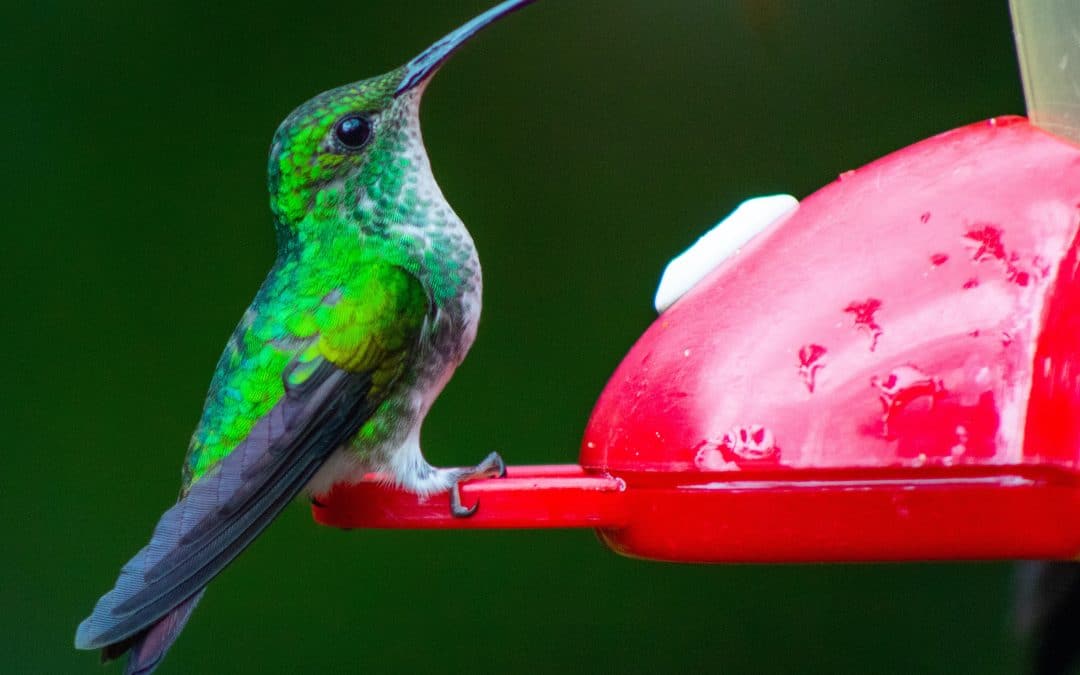
A great feeder needs to have a good deal of bright red and yellow in it’s design.

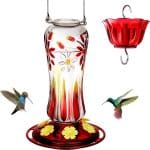
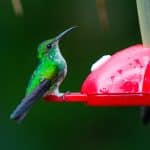
The above inexpensive feeder is very popular with hummingbirds. It can be found in almost any store with a gardening department as well as online.

The biggest reason this specific feeder is such a hit with hummers is due to the fact that it is in thousands of yards around the country – the birds actually remember it as a source of food. And yes, they will return to the same yards year after year. Your odds of attracting them are much higher when they recognize their favorite restaurant is in your yard. I have one and it’s always busy.

 
Note: DO NOT use red dye in any of their food.

Red dye isn’t healthy for the birds, whether it’s purchased at the store or made at home, and it isn’t necessary. See our companion article “A Simple Hummingbird Food Recipe” for a super easy food recipe that you can make in minutes using just two ingredients. These little guys deserve the good stuff, not the fake red stuff.  Having red in the feeder design is enough to attract the hummingbirds. Anyway….


Other Key Features of a Great Feeder:

  • It should have a thick glass bottle for the food. A glass bottle won’t disperse BPA’s into their food source like some plastics will, especially when it gets hot in the summer sun. If the packaging states that the plastic in the product is “BPA Free”  then it’s ok to use.  BPA stands for Bisphenol A, which is an industrial chemical that has been used to make certain plastics and resins since the 1950s. For more information on BPA’s, click here for the Mayo Clinic’s article about this substance.
  • A great feeder will include little “resting bars” at each flower. Hummingbirds need breaks from all that zipping around and a nice place to do that is when they’re at a feeder. I prefer the plastic “resting bars”.
  • It also needs to easily be taken apart and cleaned regularly. Cleaning is super important to keep harmful mold and bacteria from building up which can make them sick.


A Few Words about Cleaning The Feeders

As mentioned above, you need to thoroughly clean the feeder to prevent mold and bacterial growth. Take it completely apart and clean it at least once every 2 weeks.

  1. Use a mild dish soap and water to clean the bottle and all the parts. Many feeders will come with small brushes but if they don’t, here’s a tip: I clean and recycle my old mascara brushes because they fit perfectly into the small feeder holes.
  2. Next, use a large bottle-brush to clean the glass bottle that holds the food.
  3. Rinse thoroughly, reassemble, fill, and hang on hook, or on a tree.

Hummingbird Feeders

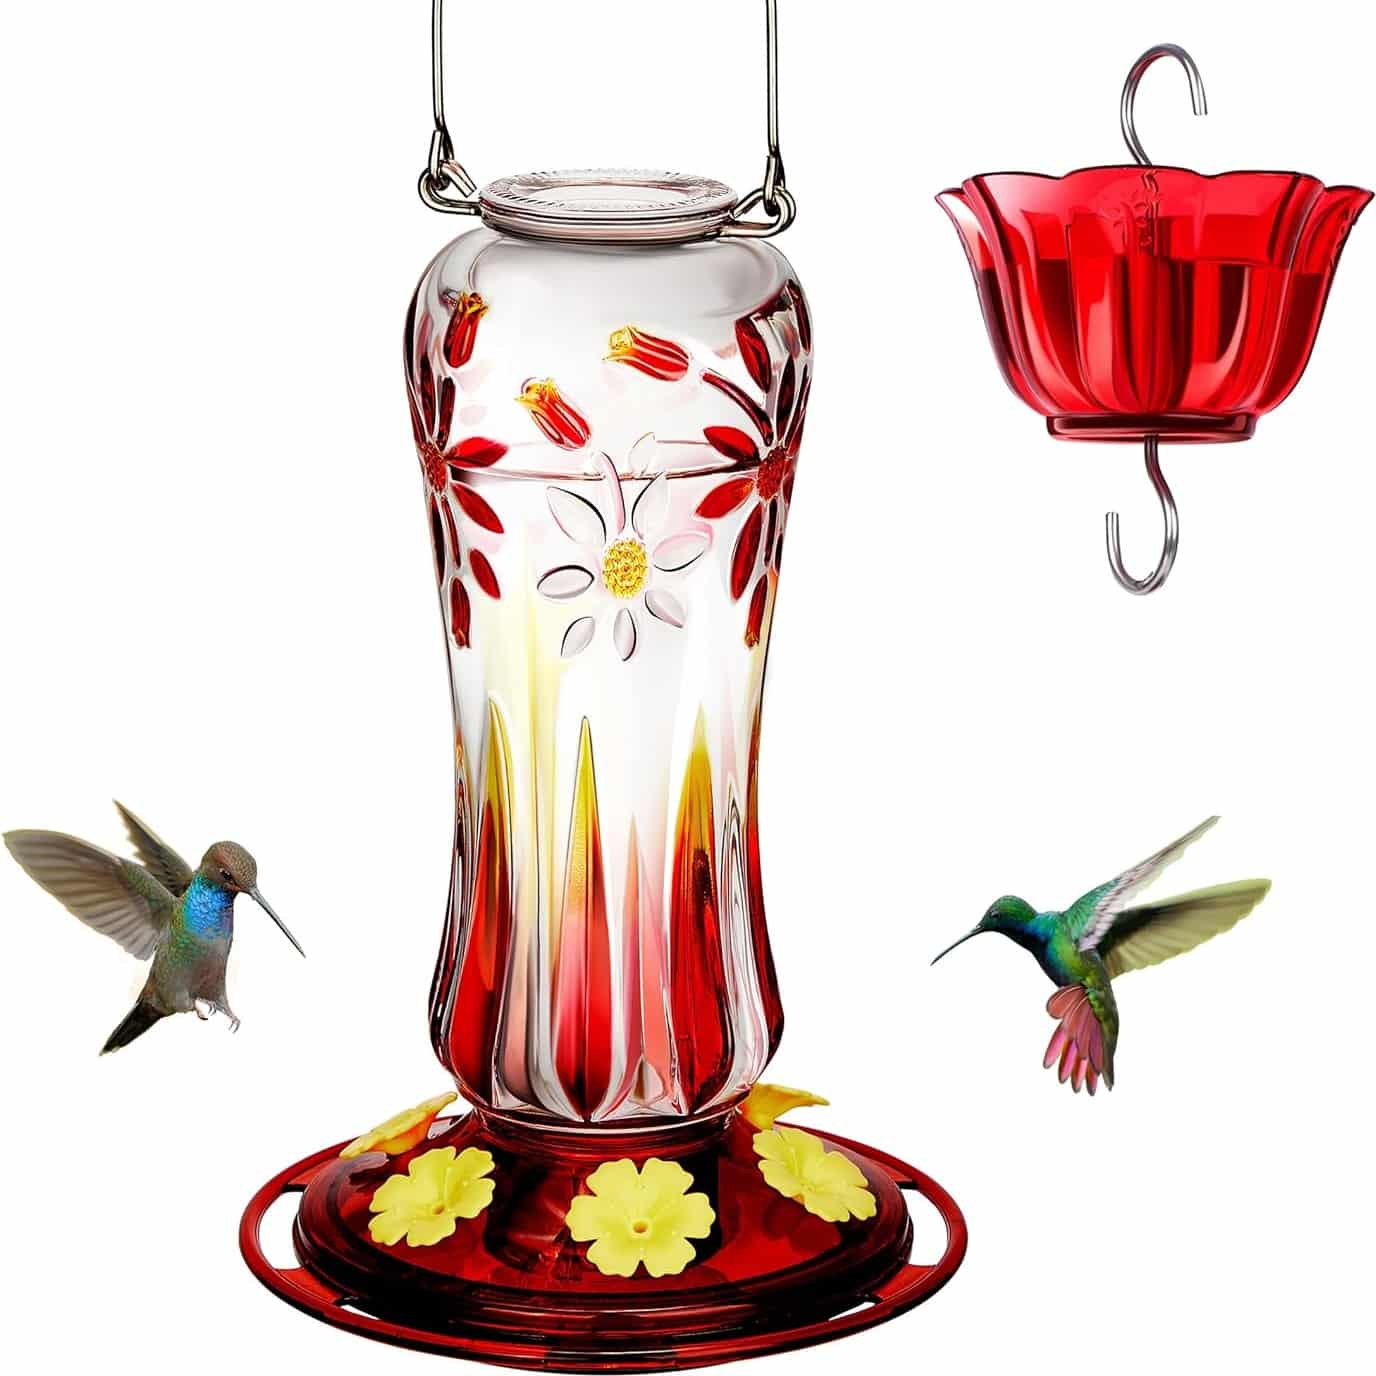
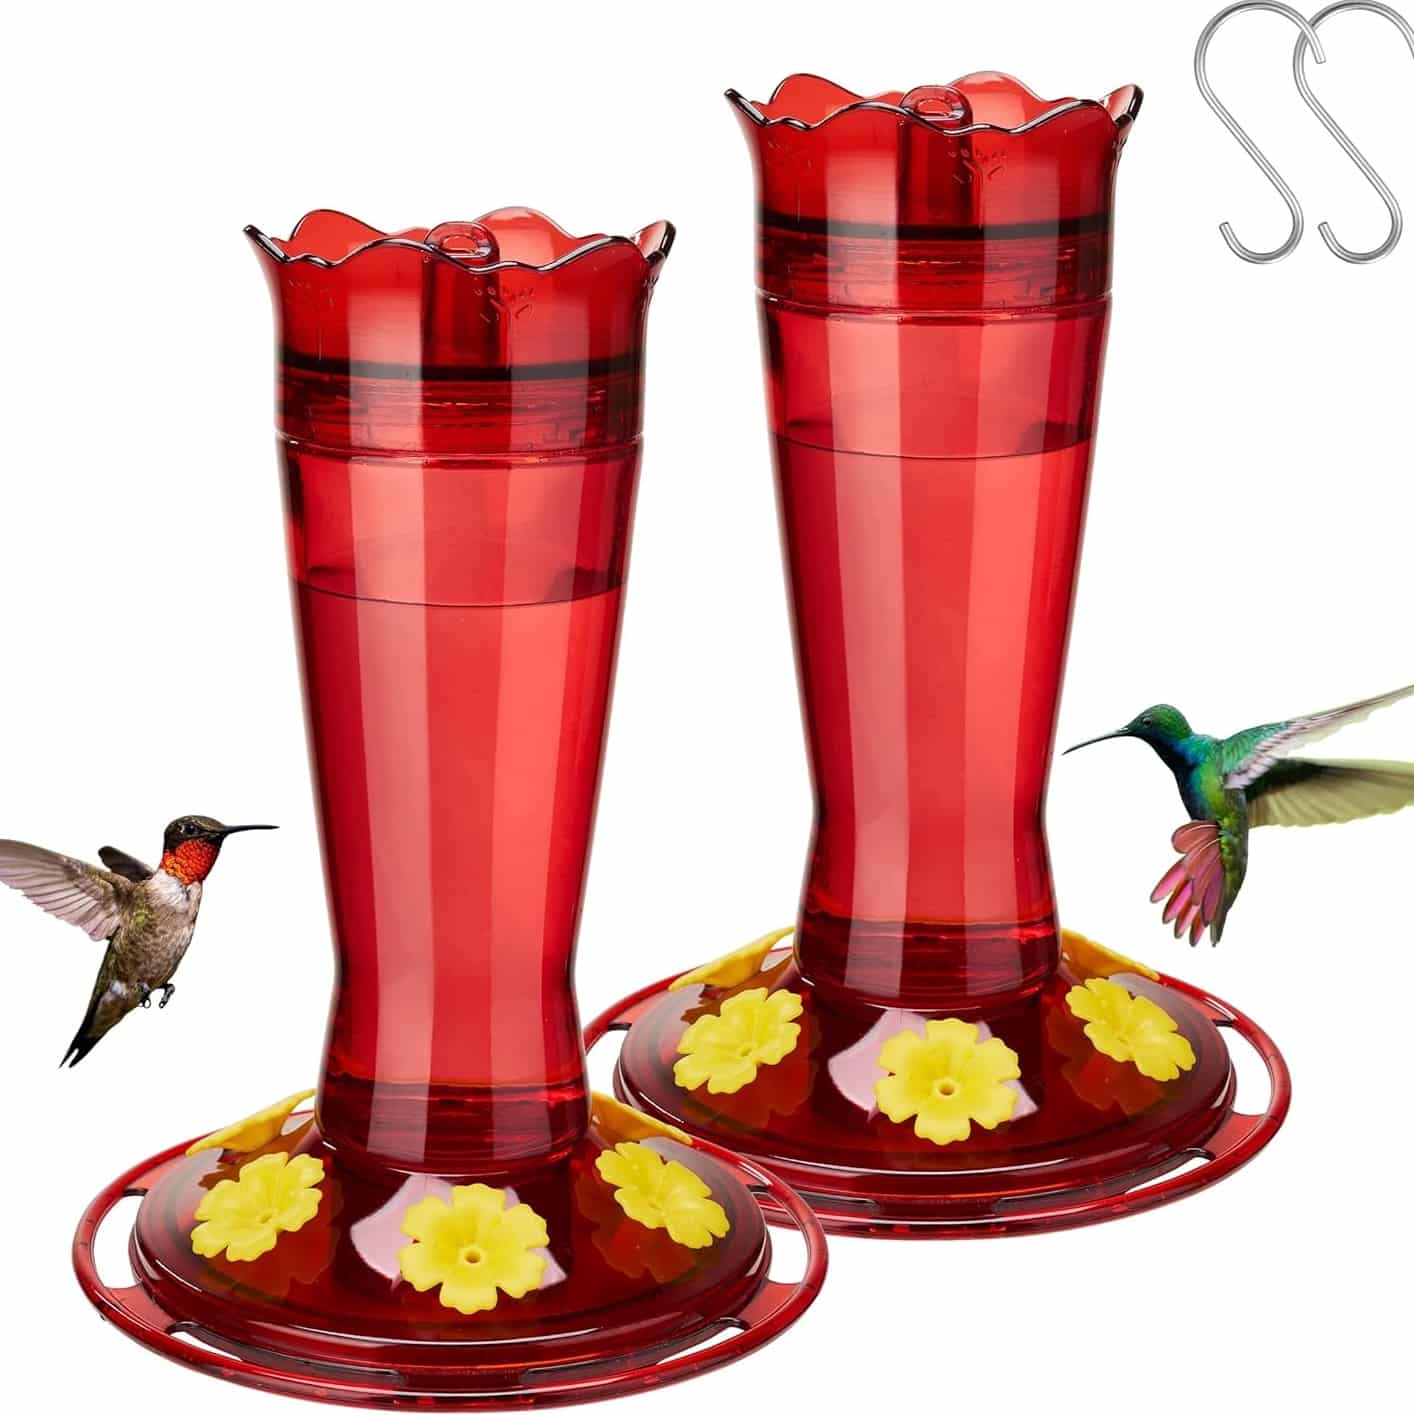
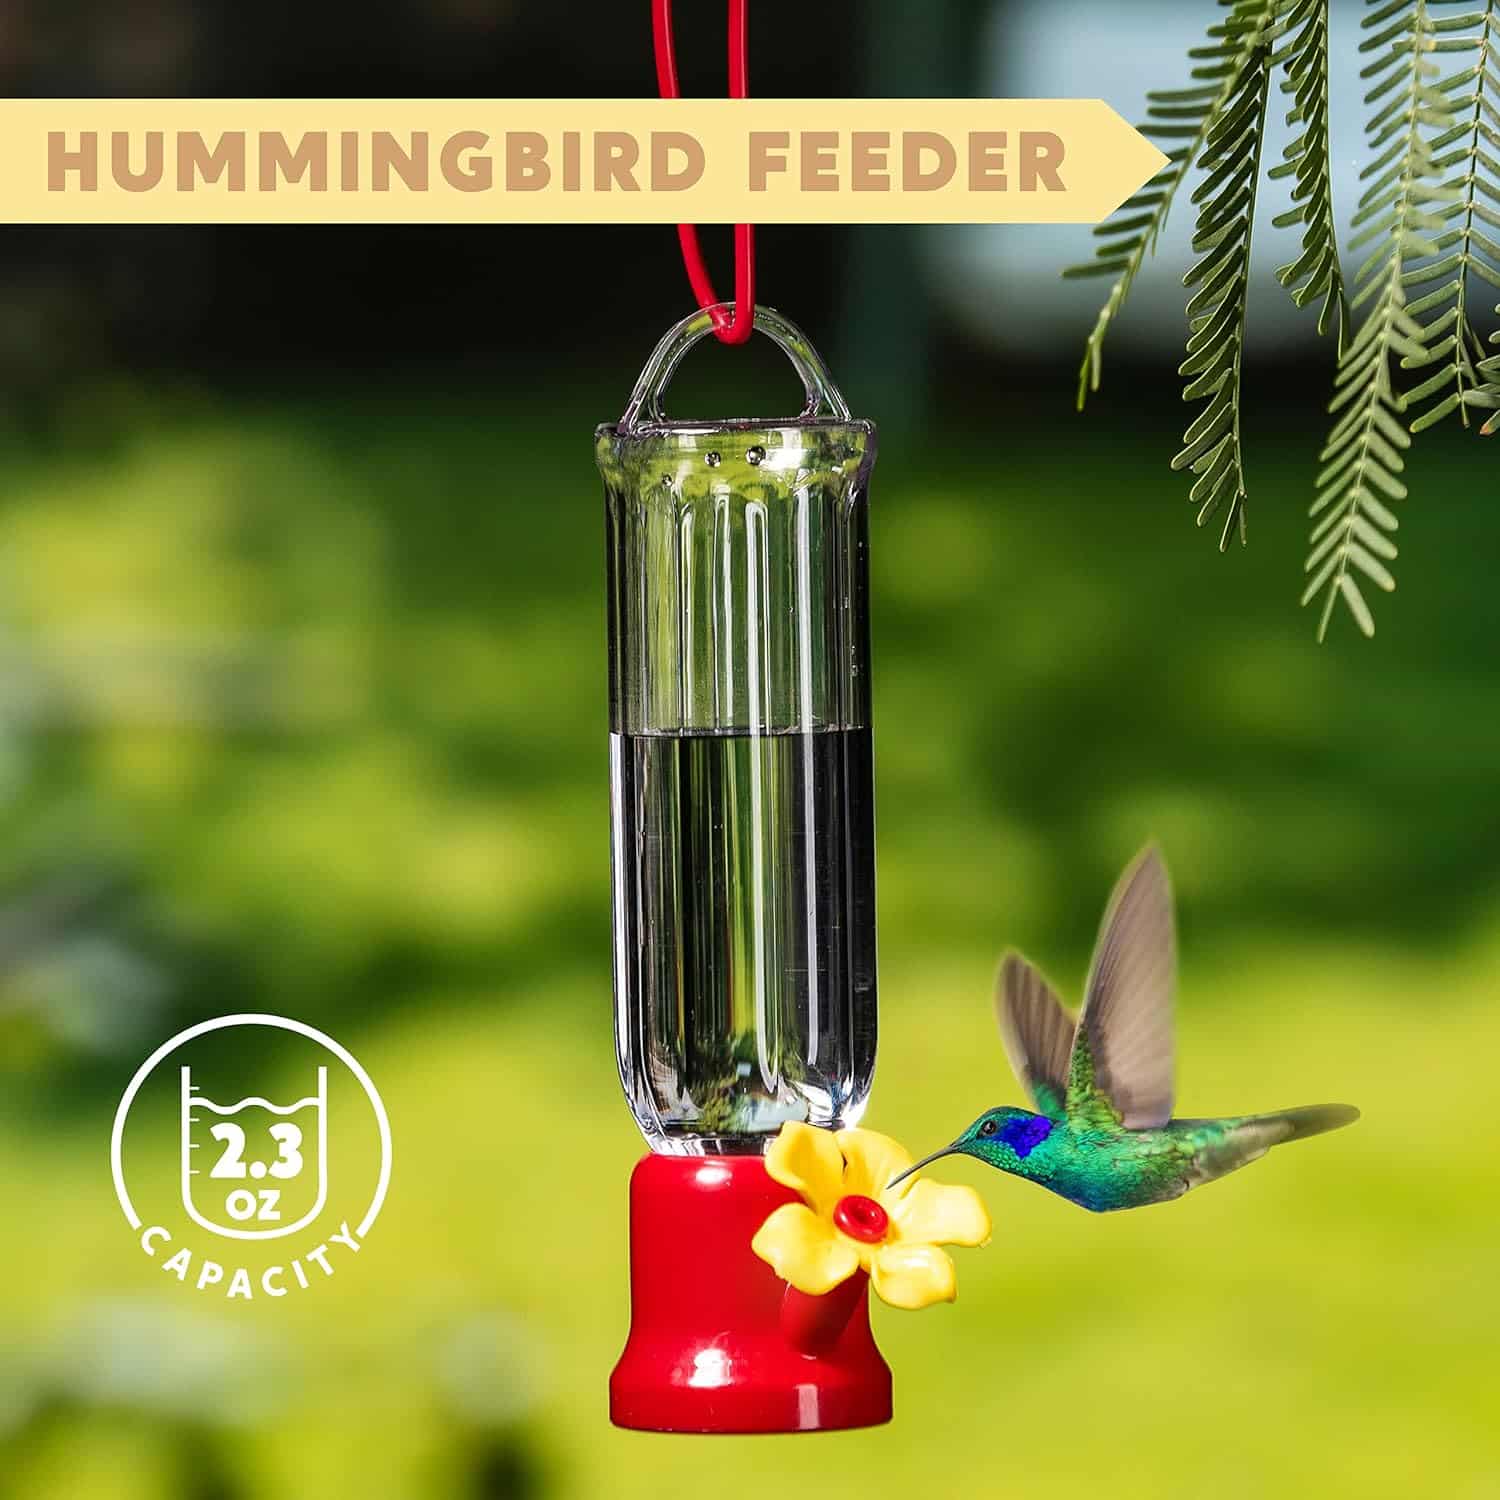
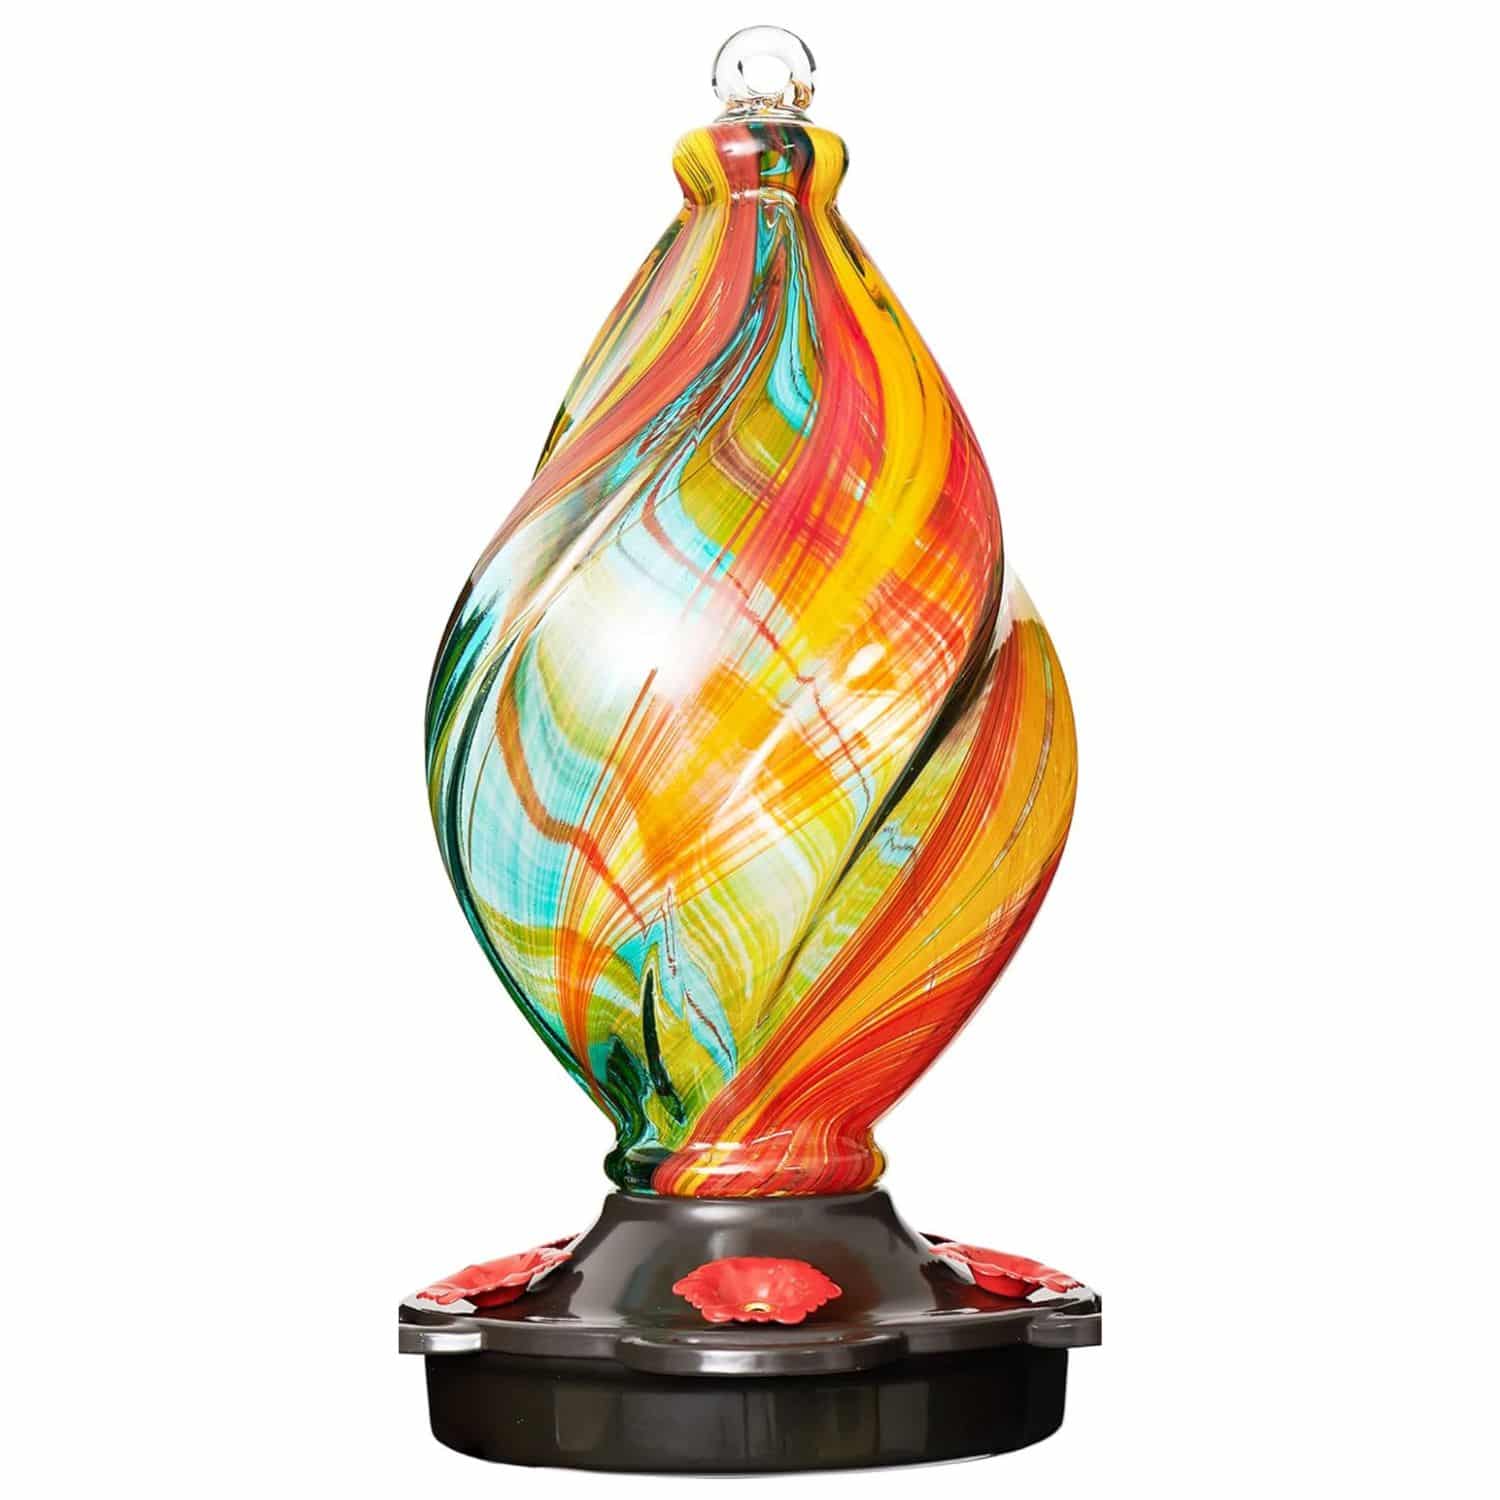
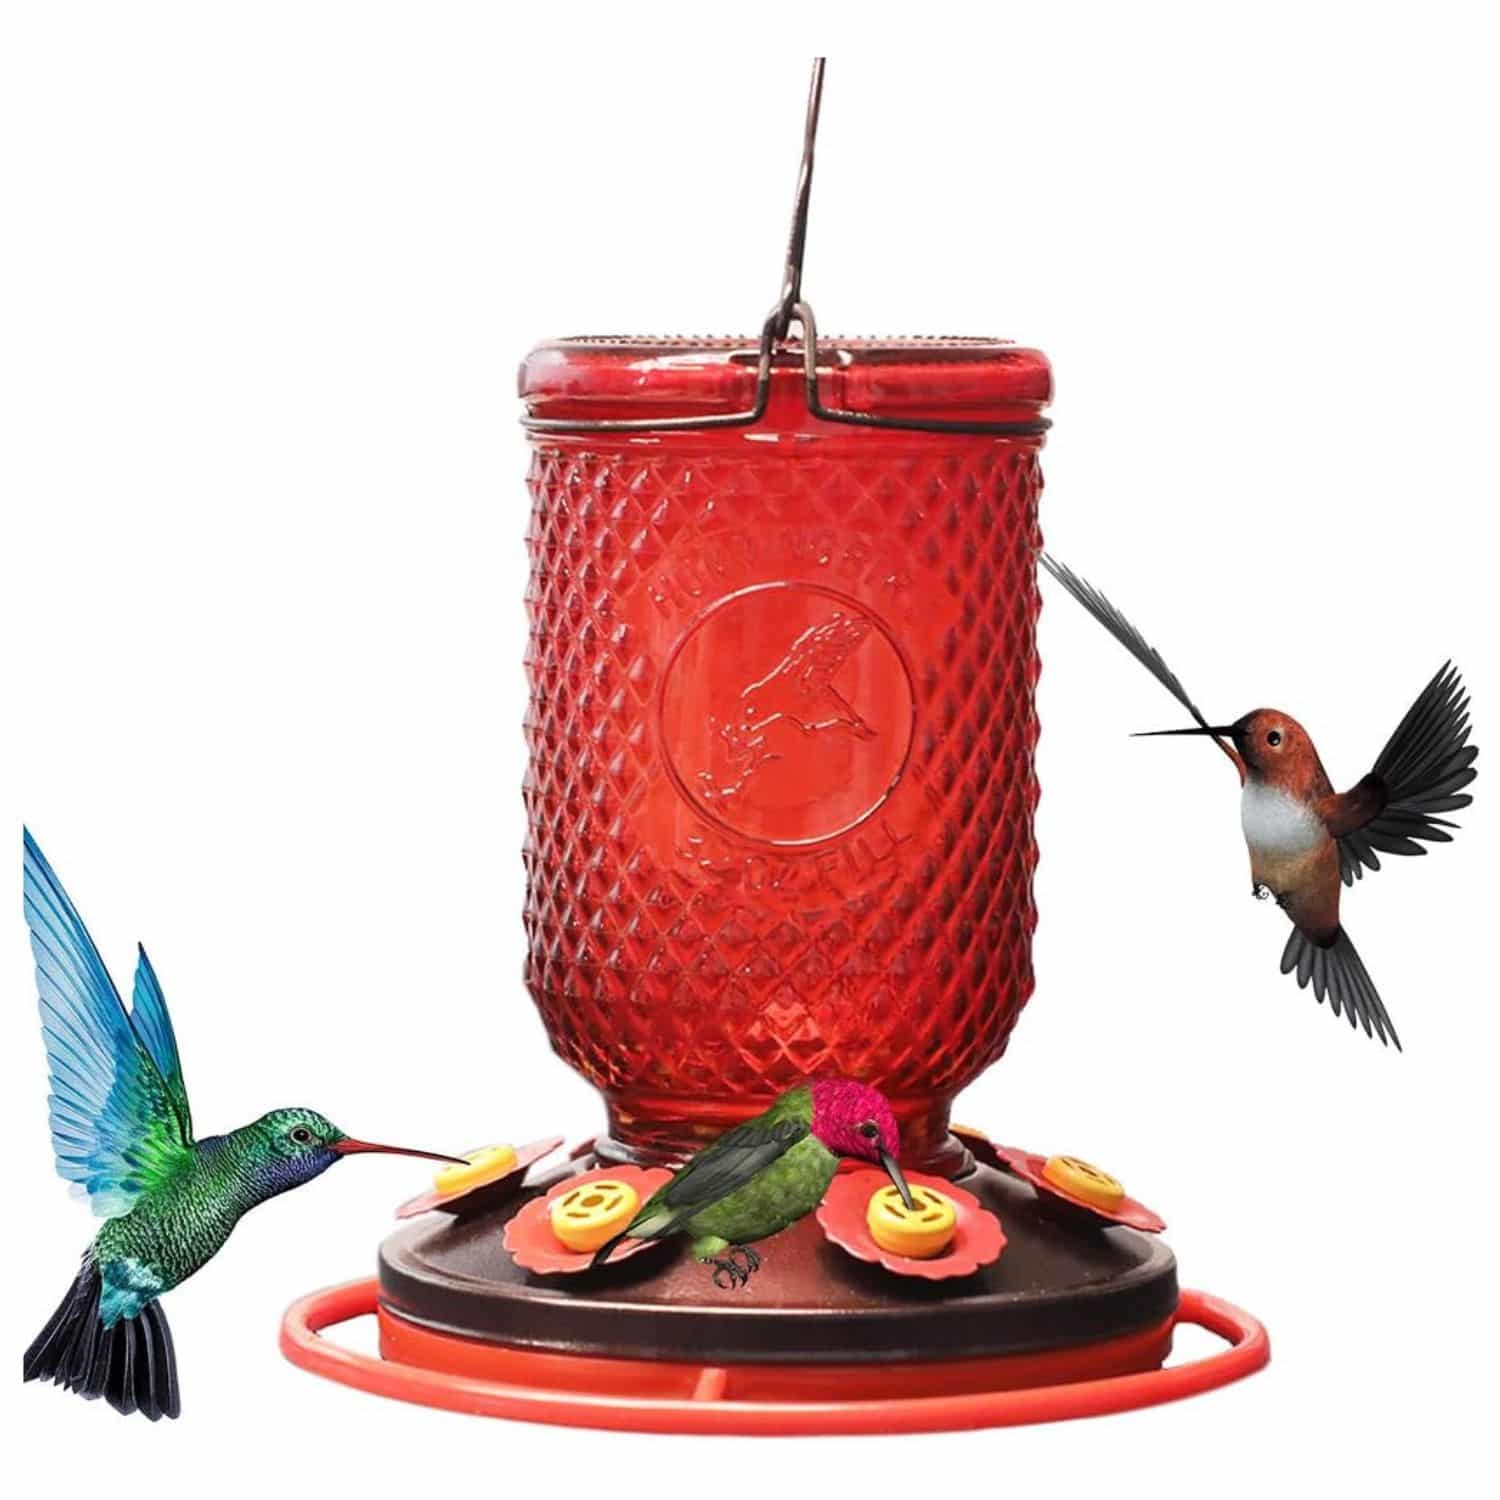
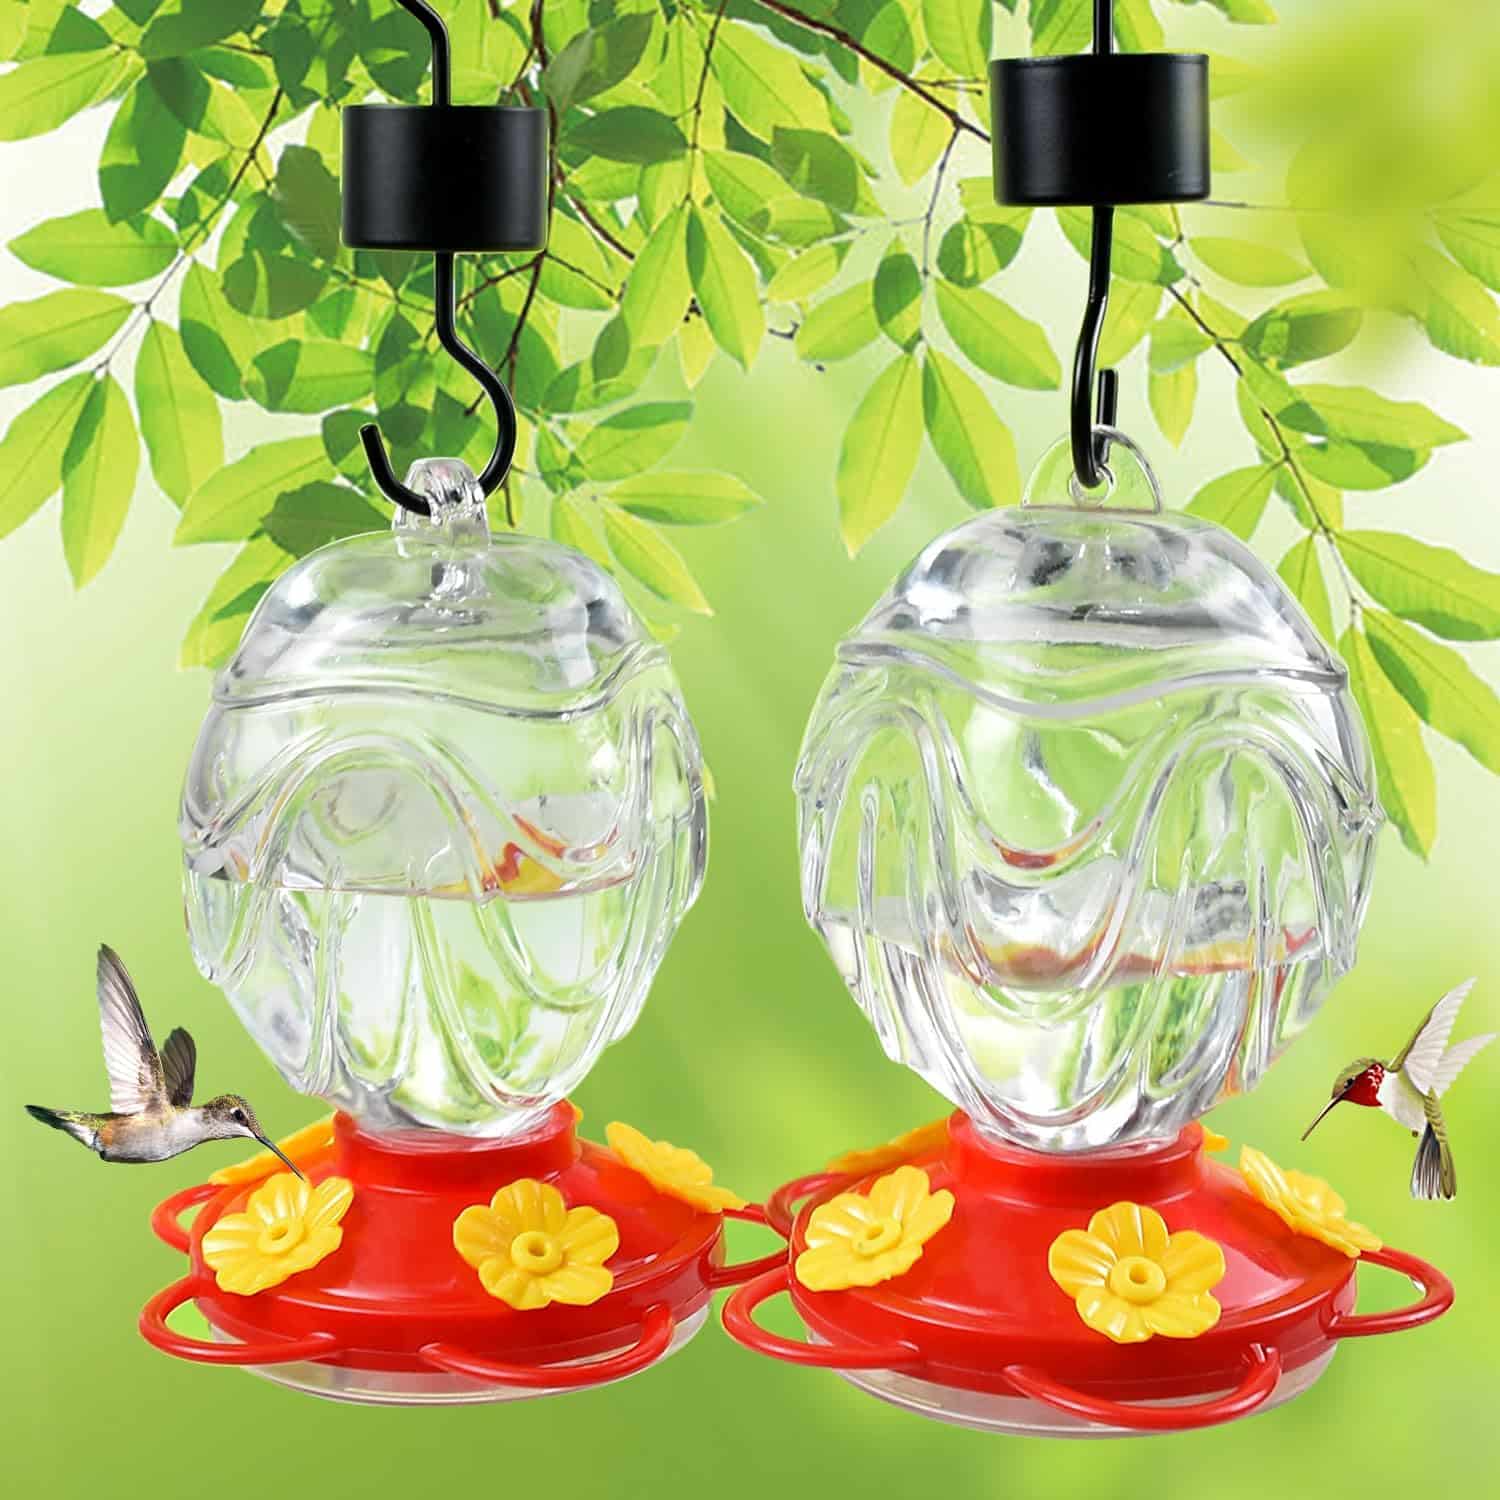
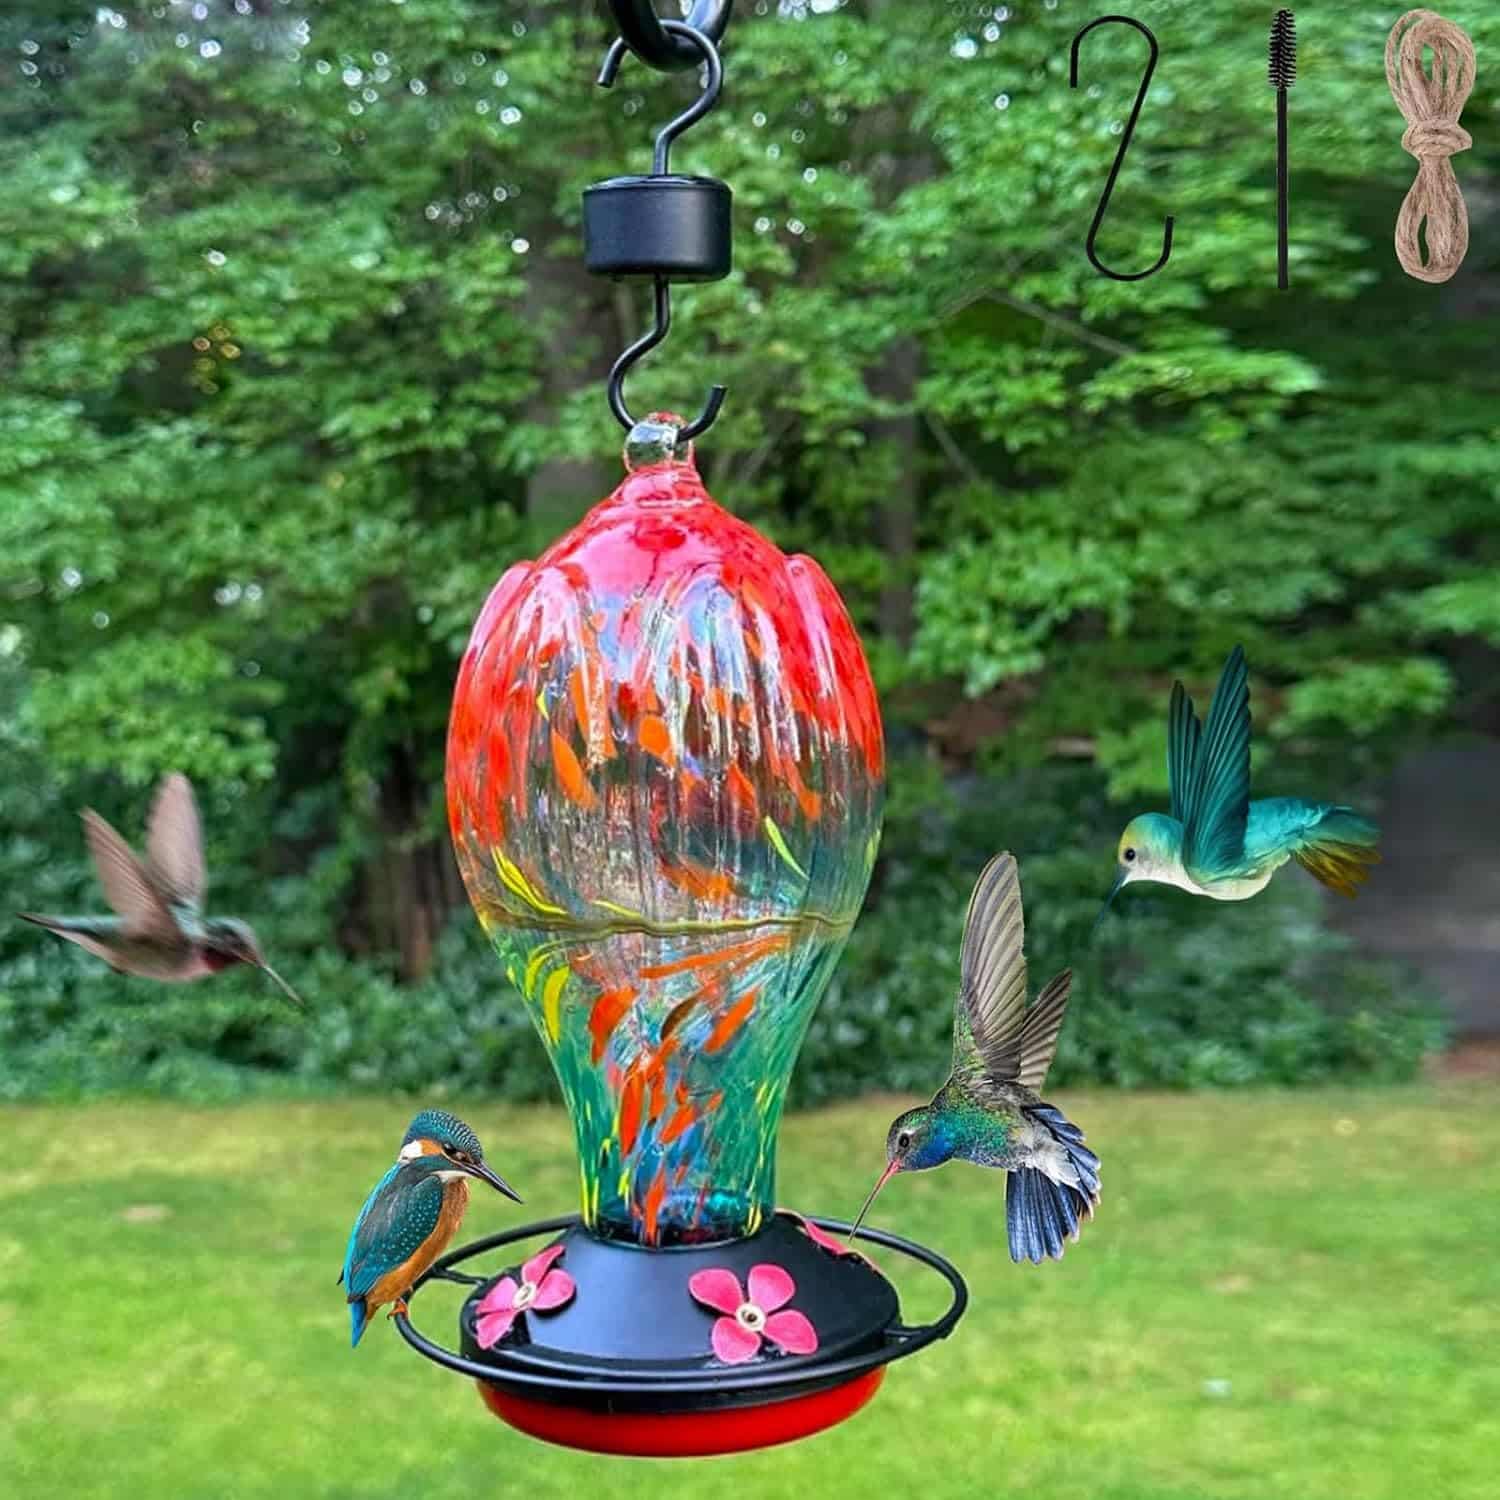
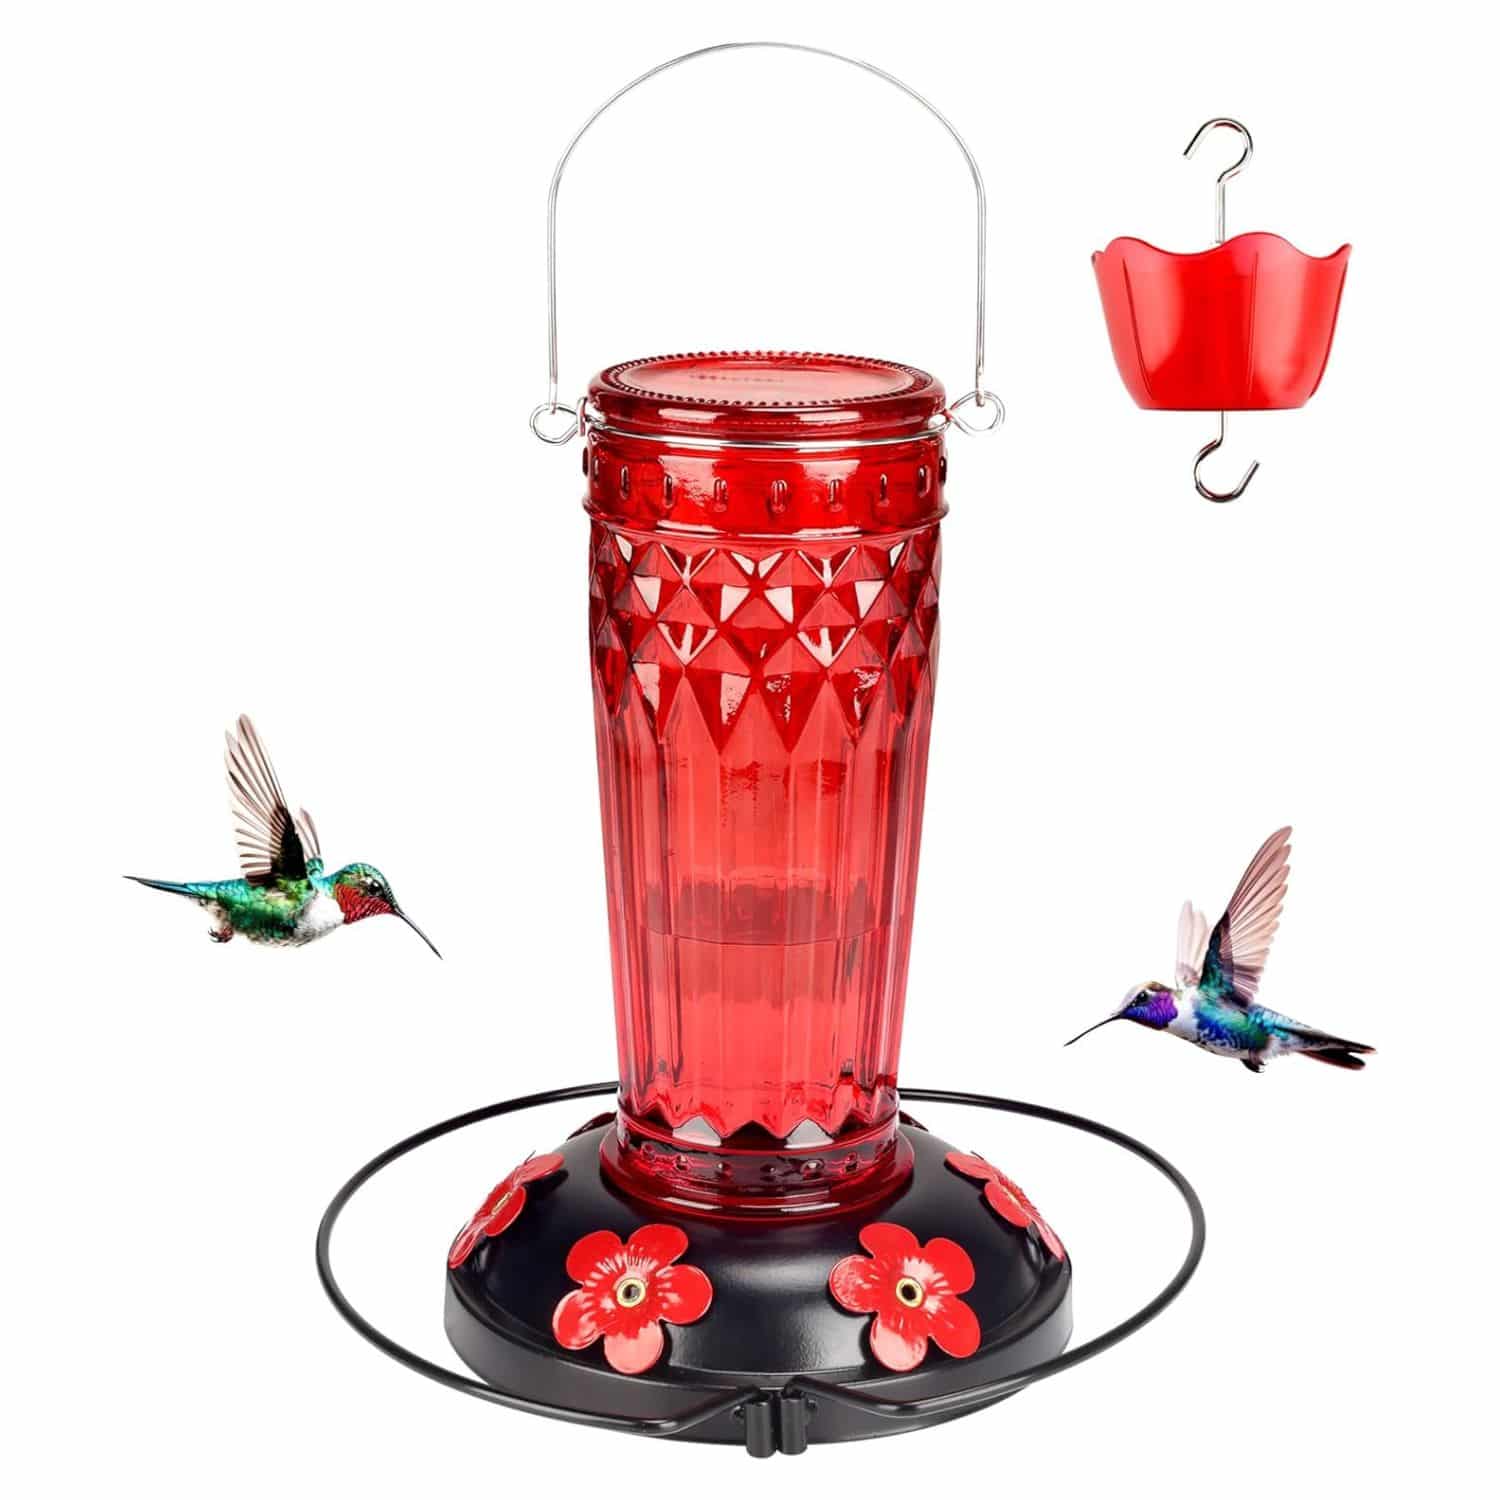
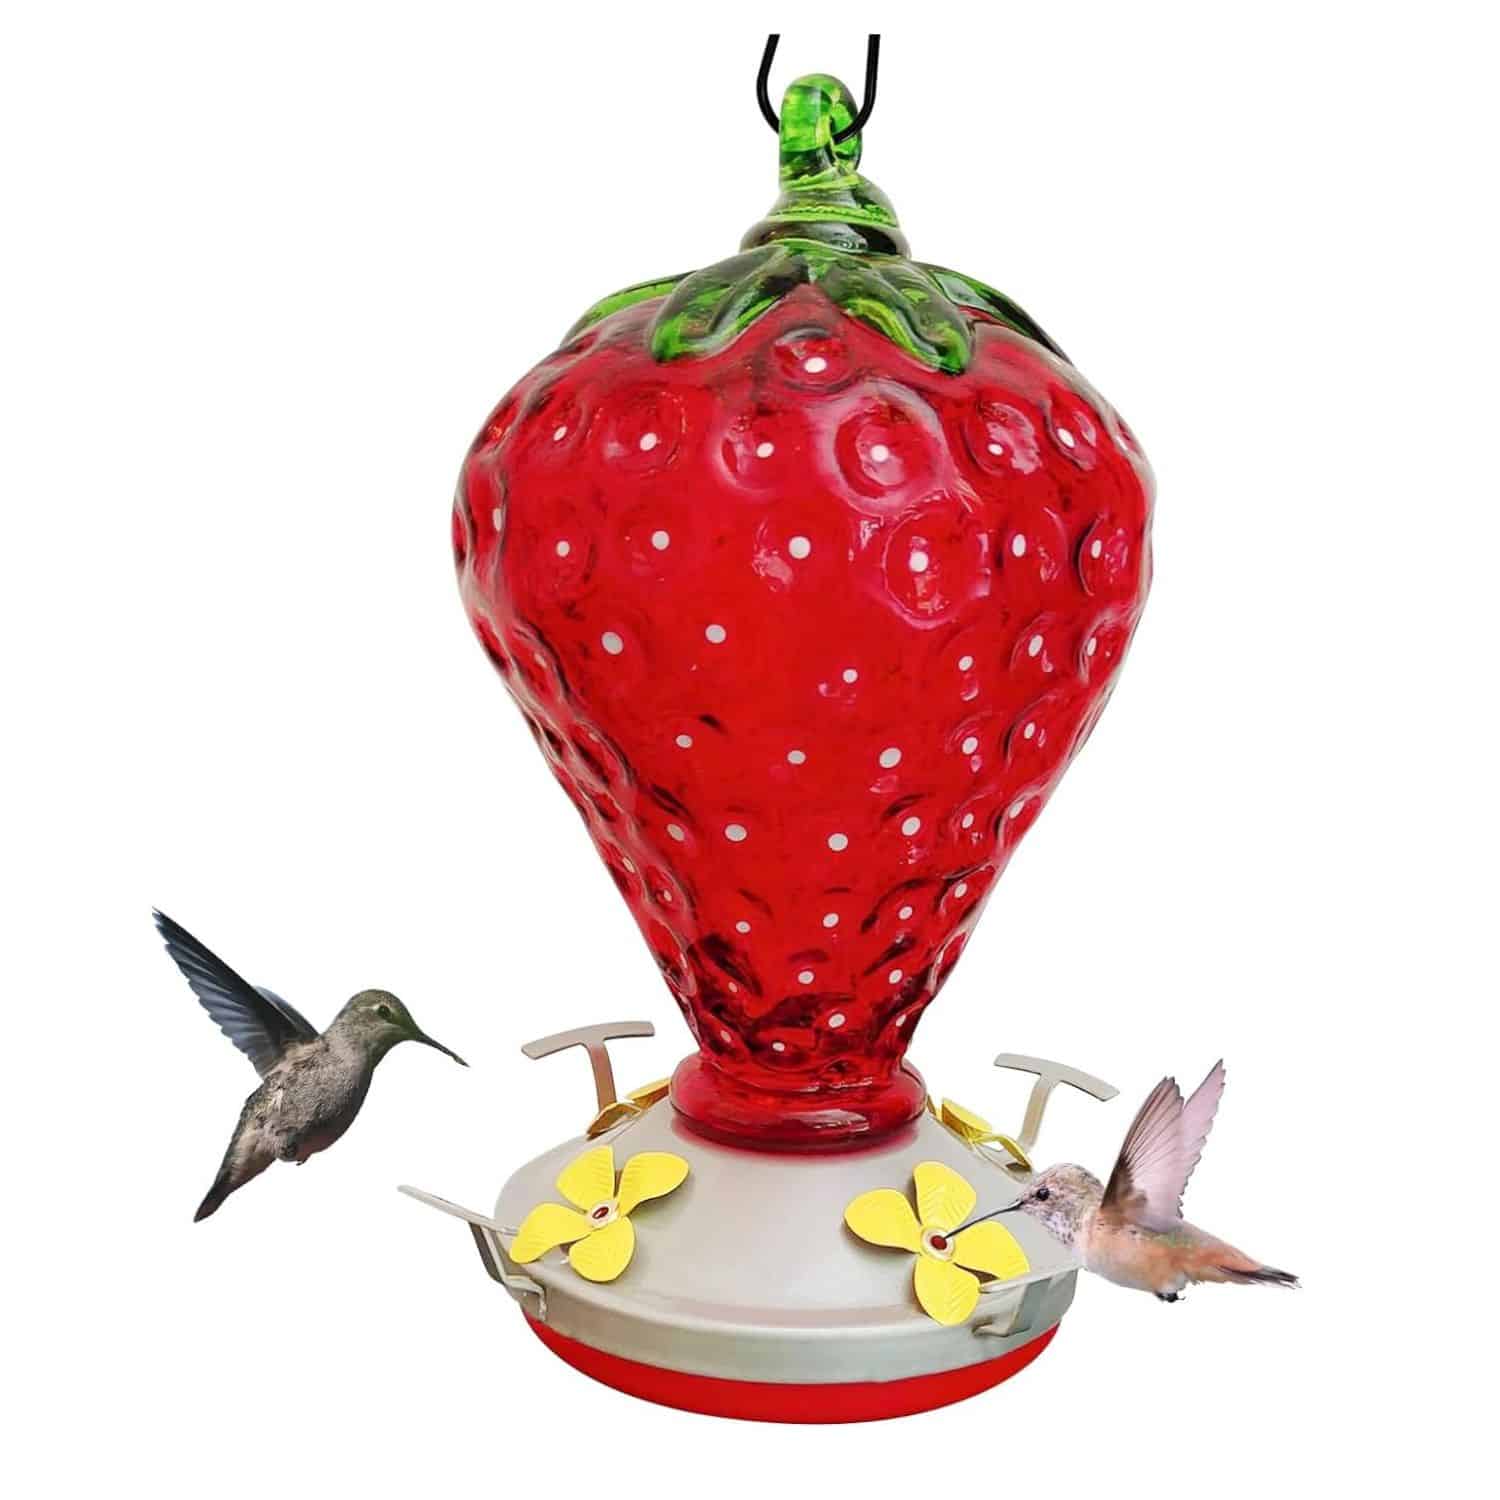
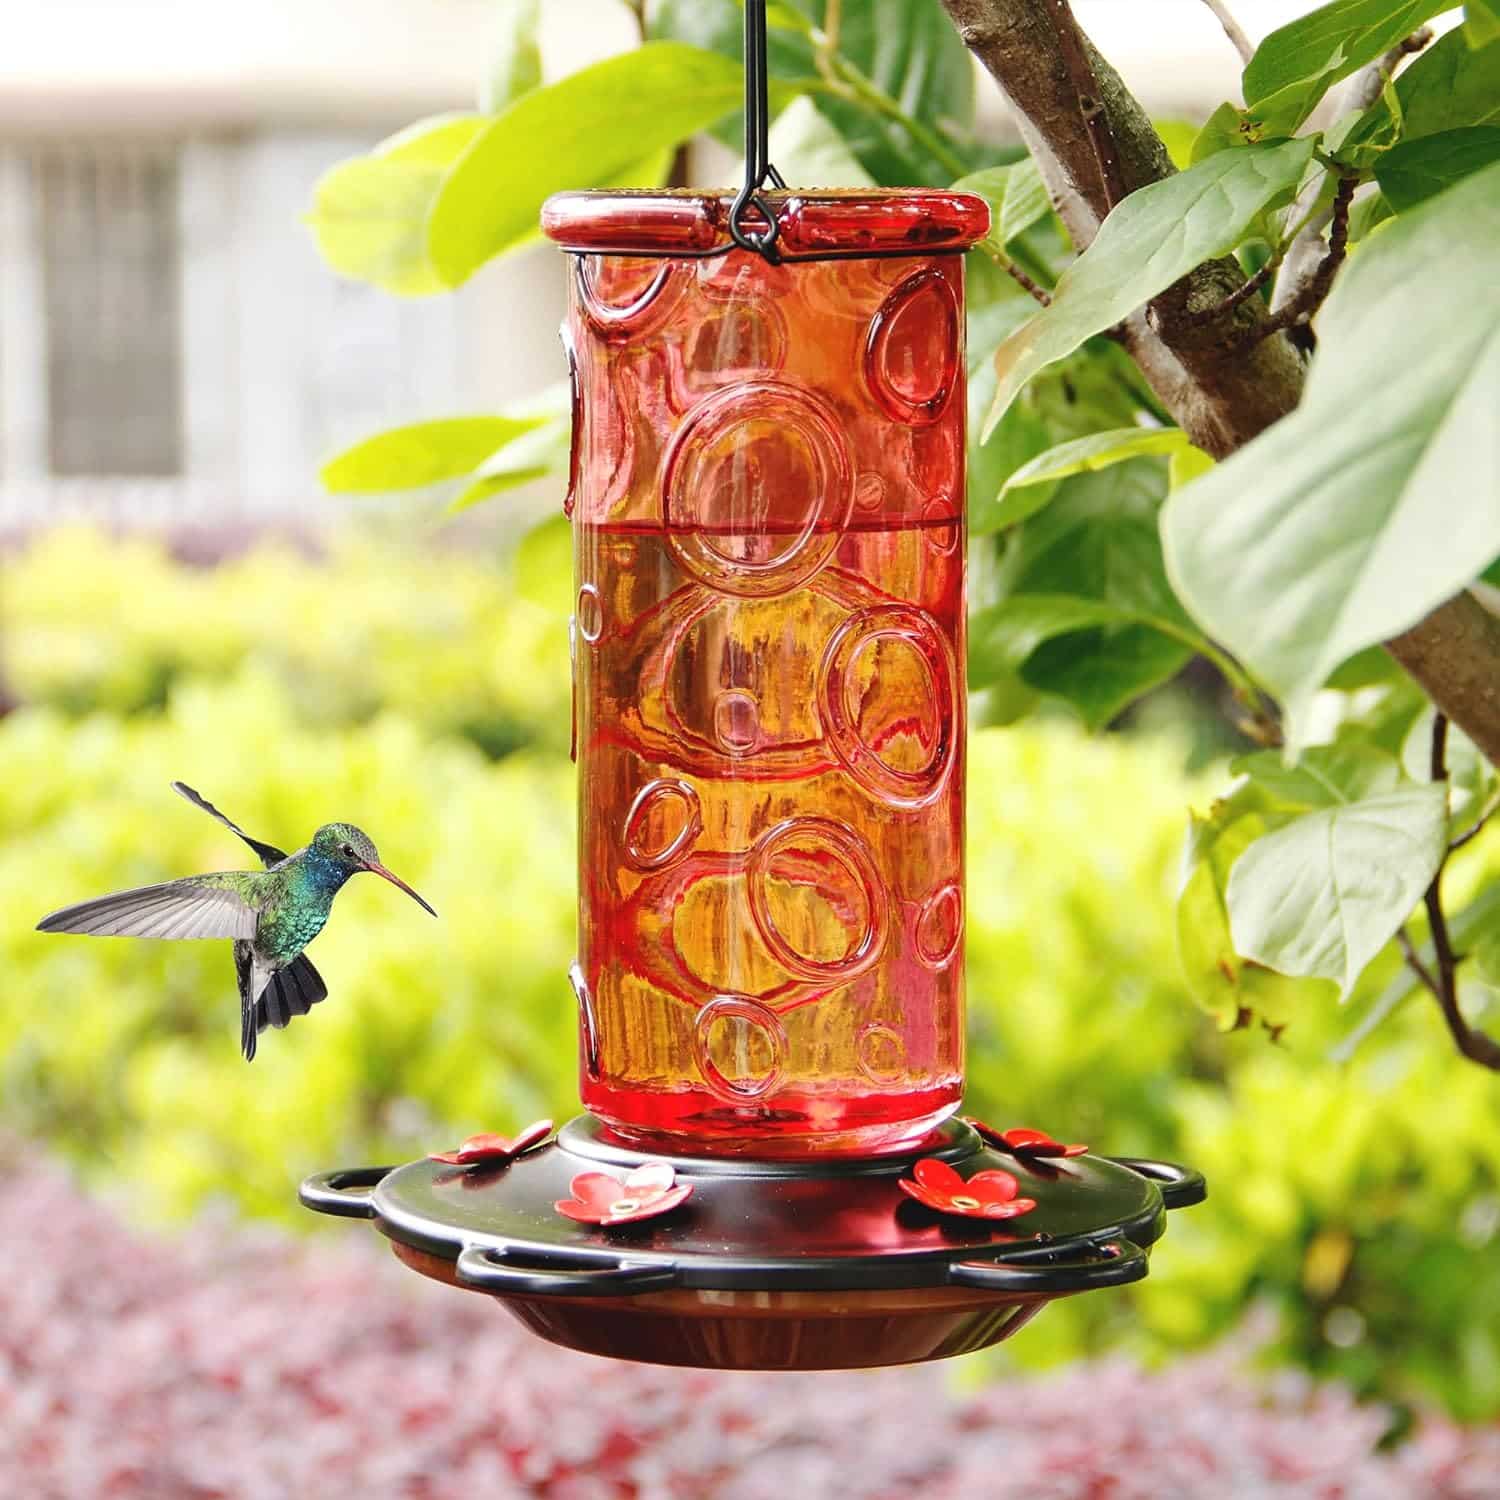
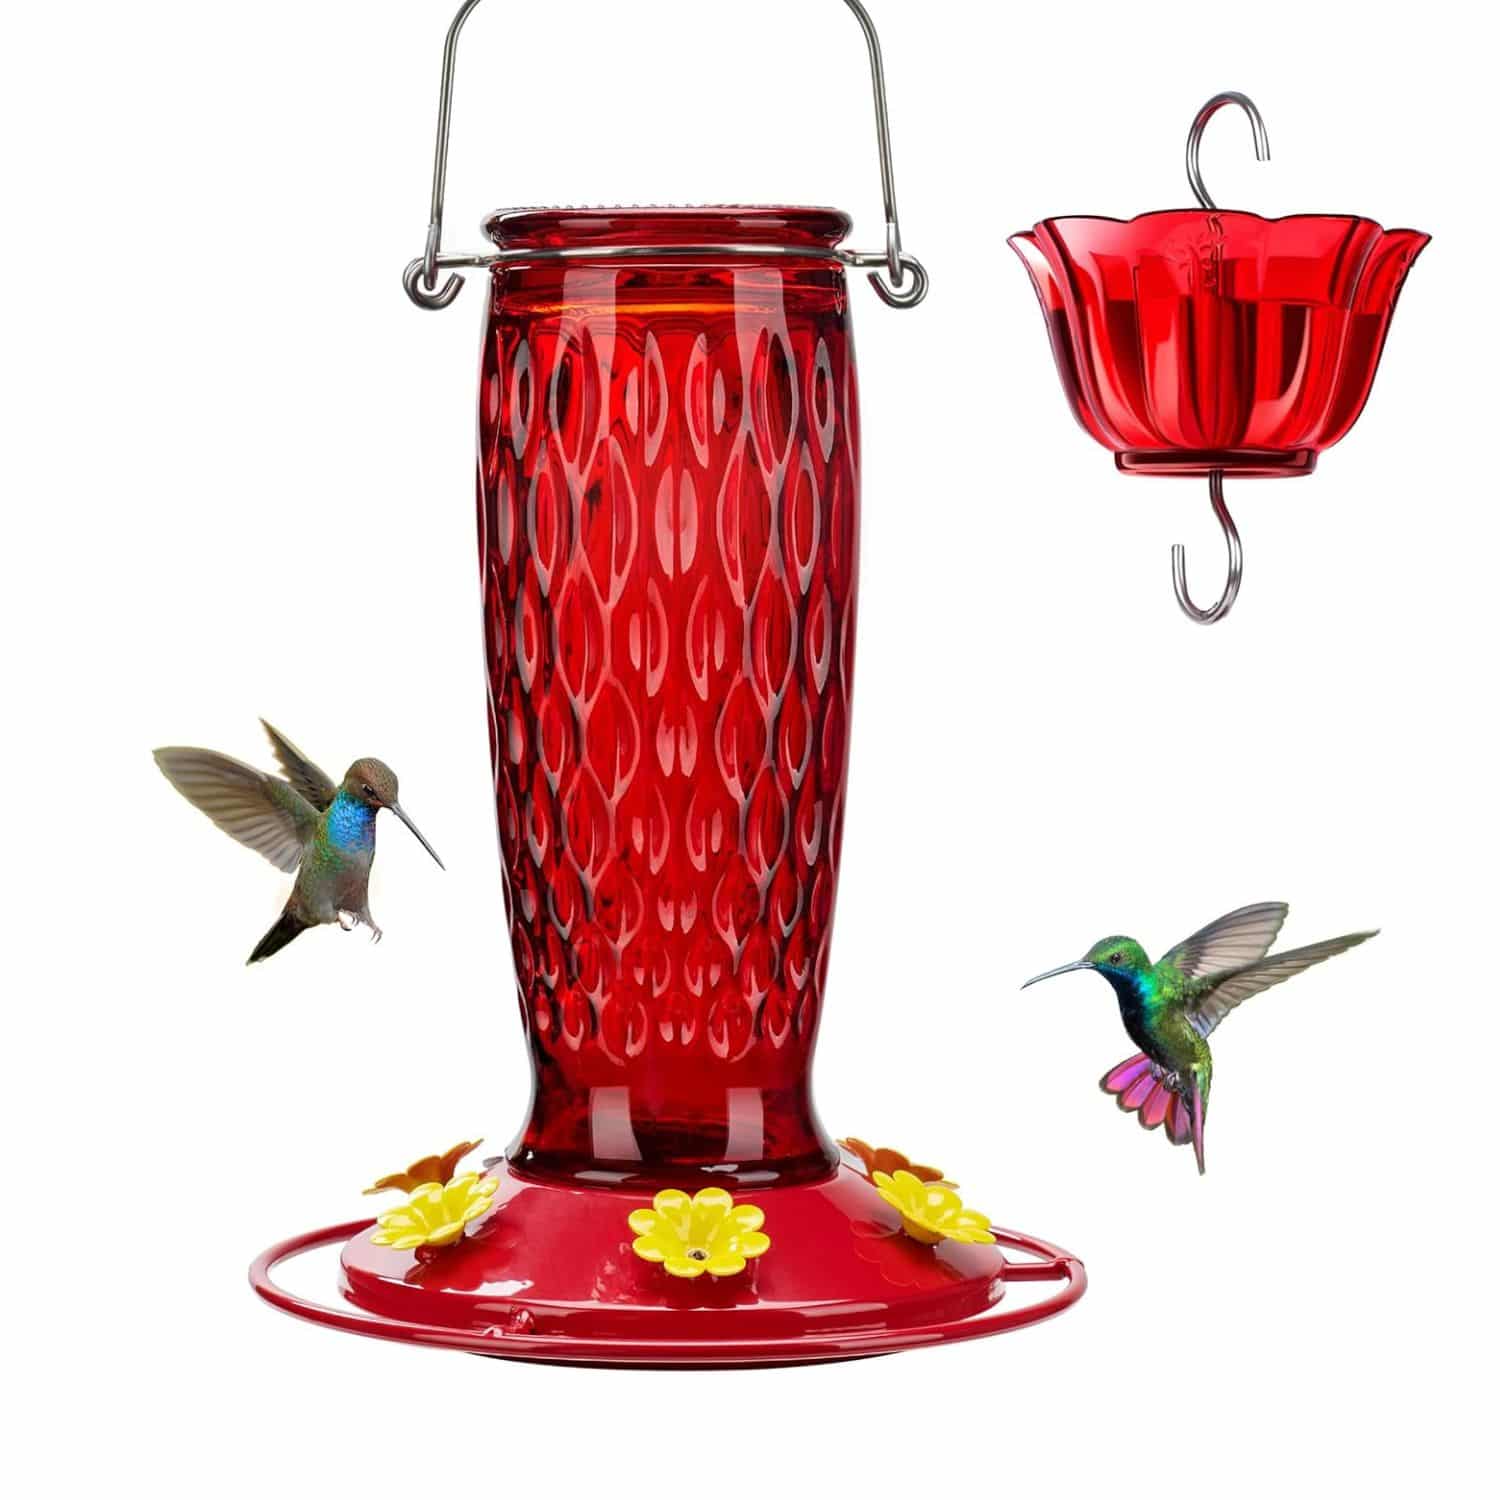
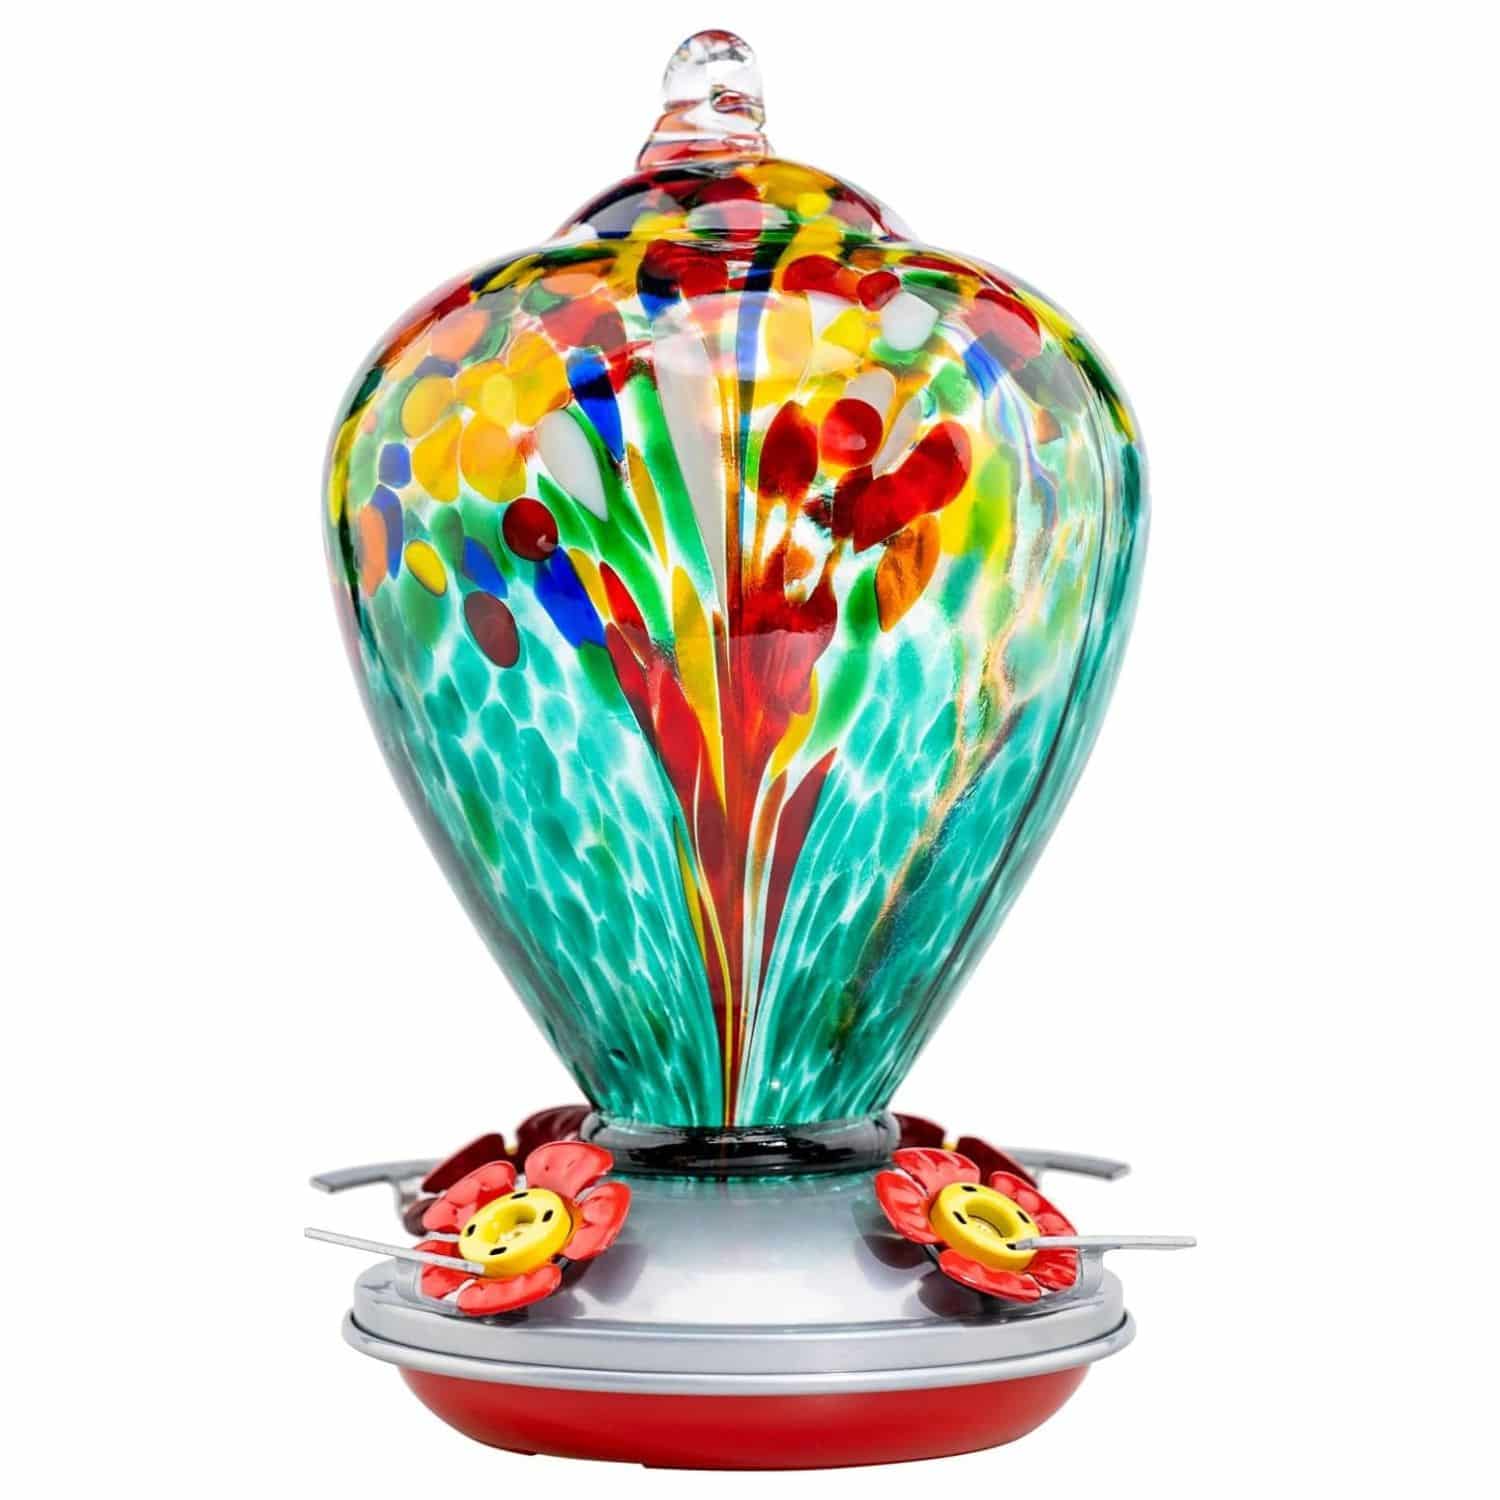
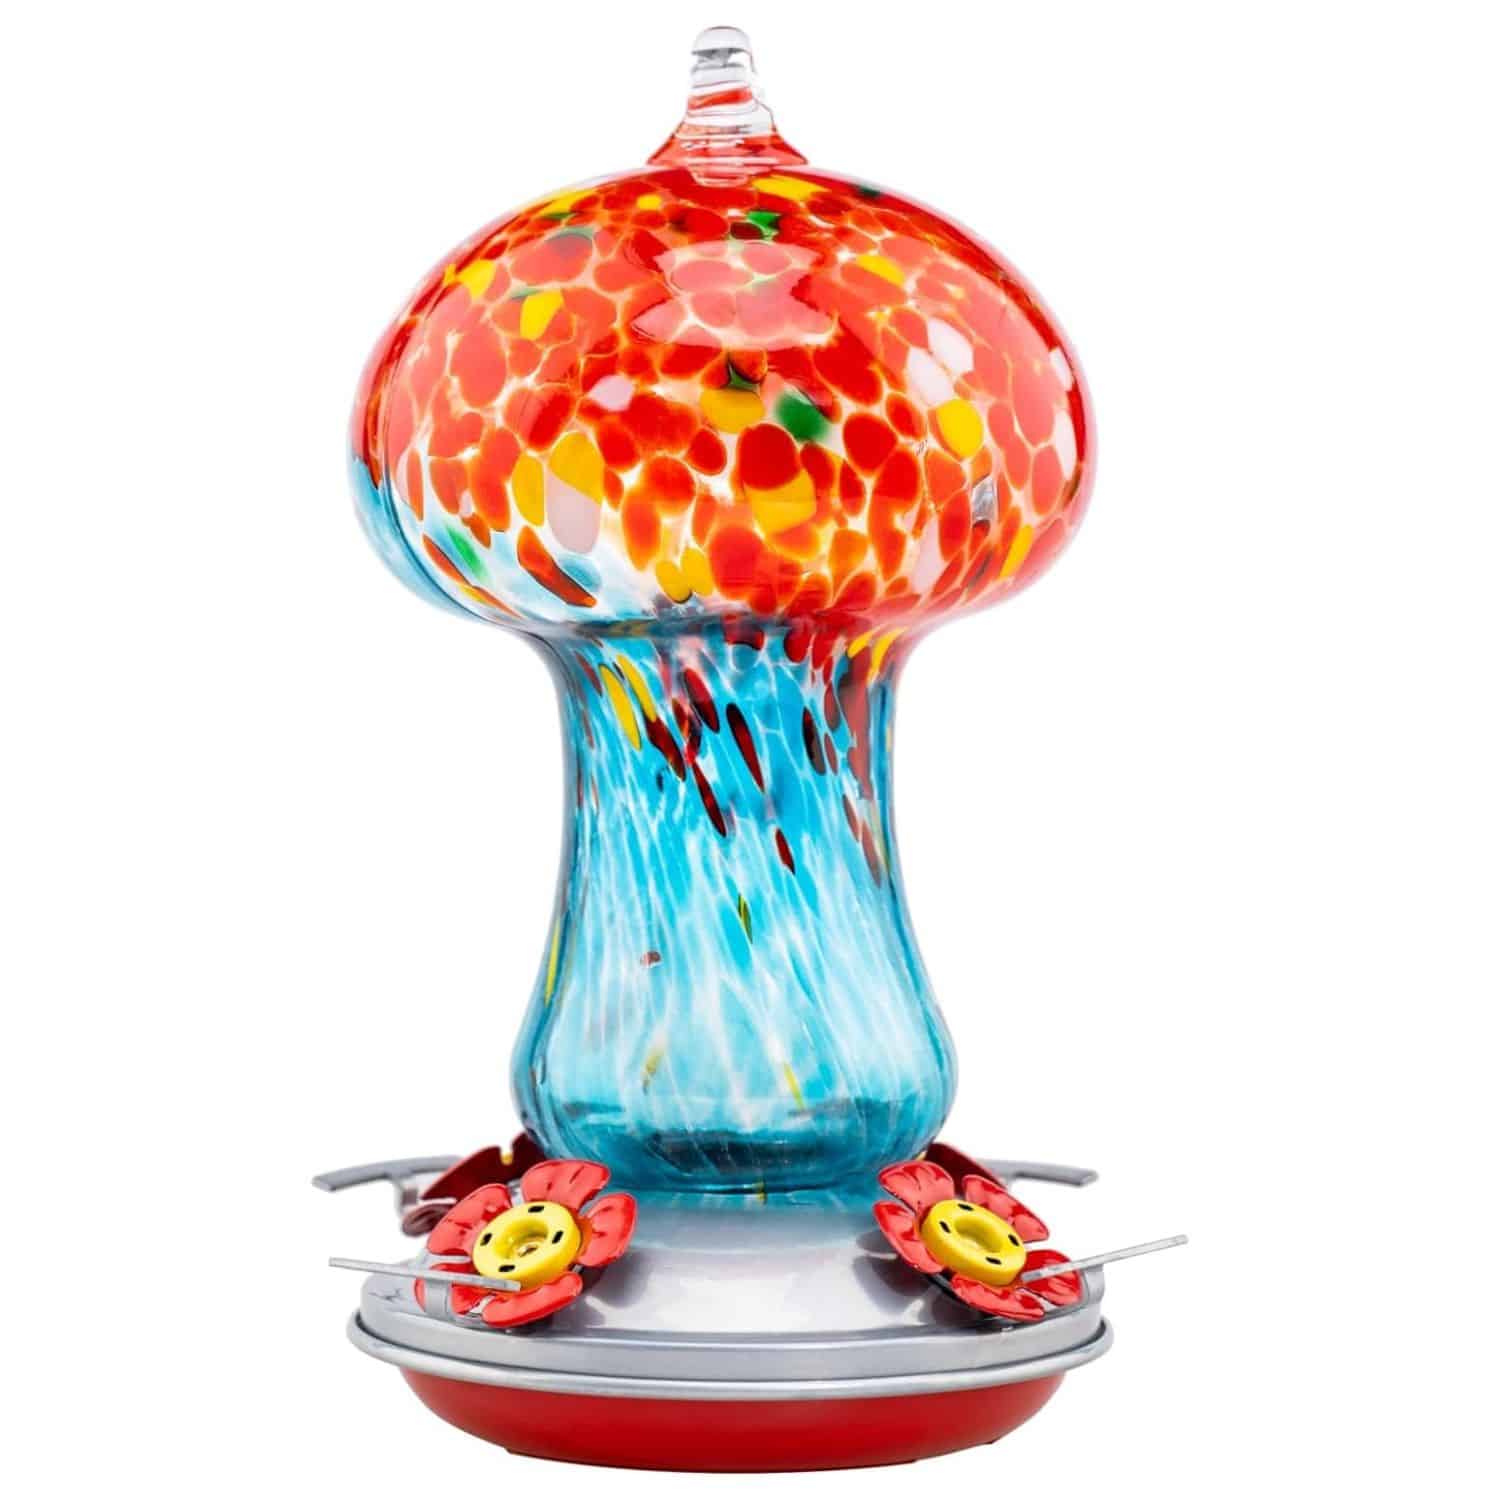
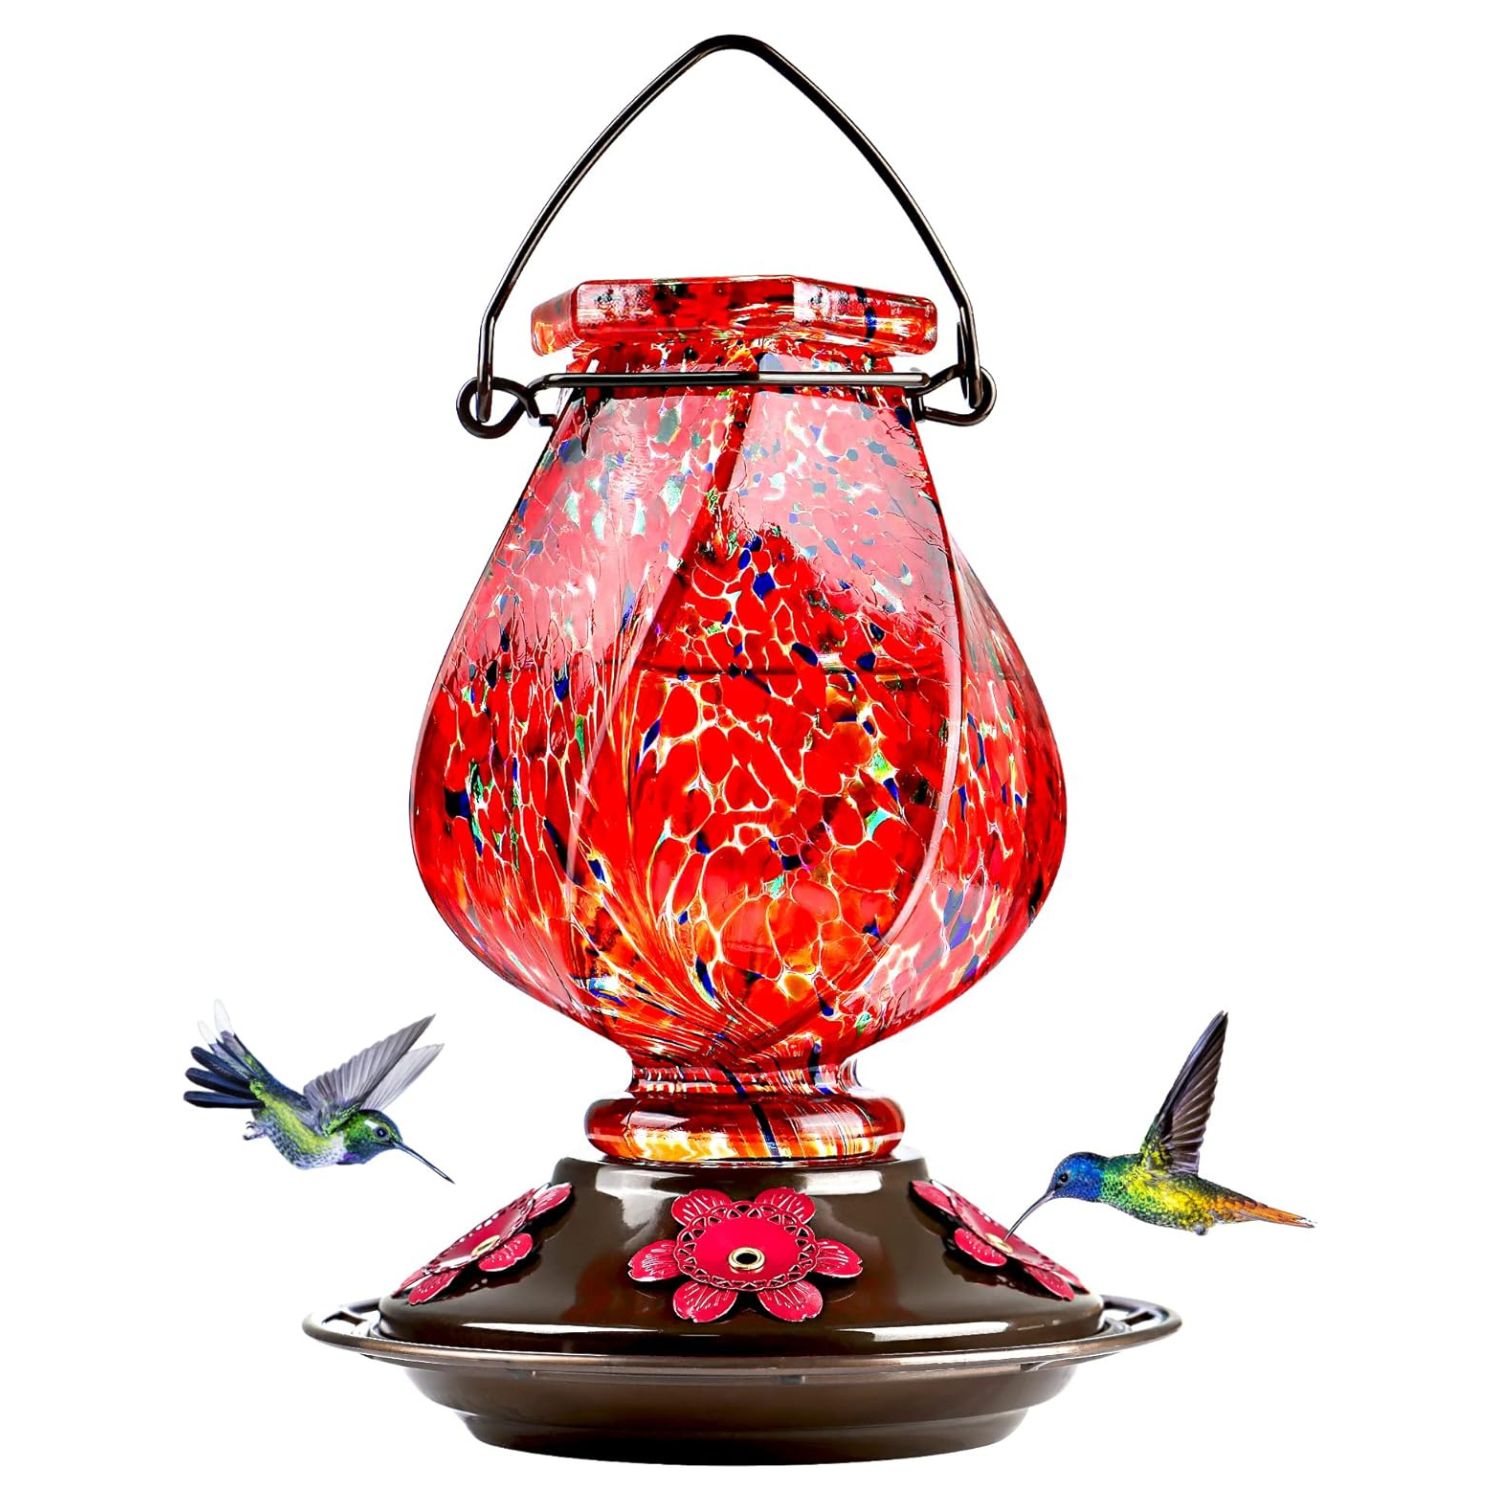
There are so many cool feeders to chose from. Below are just few of our favorites:

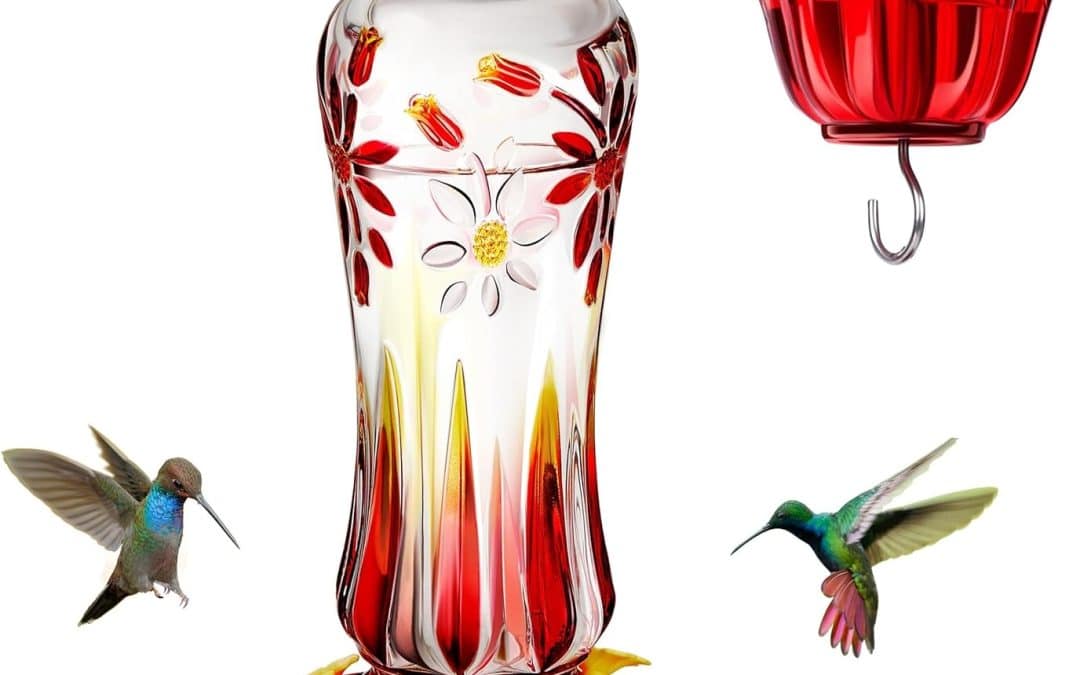
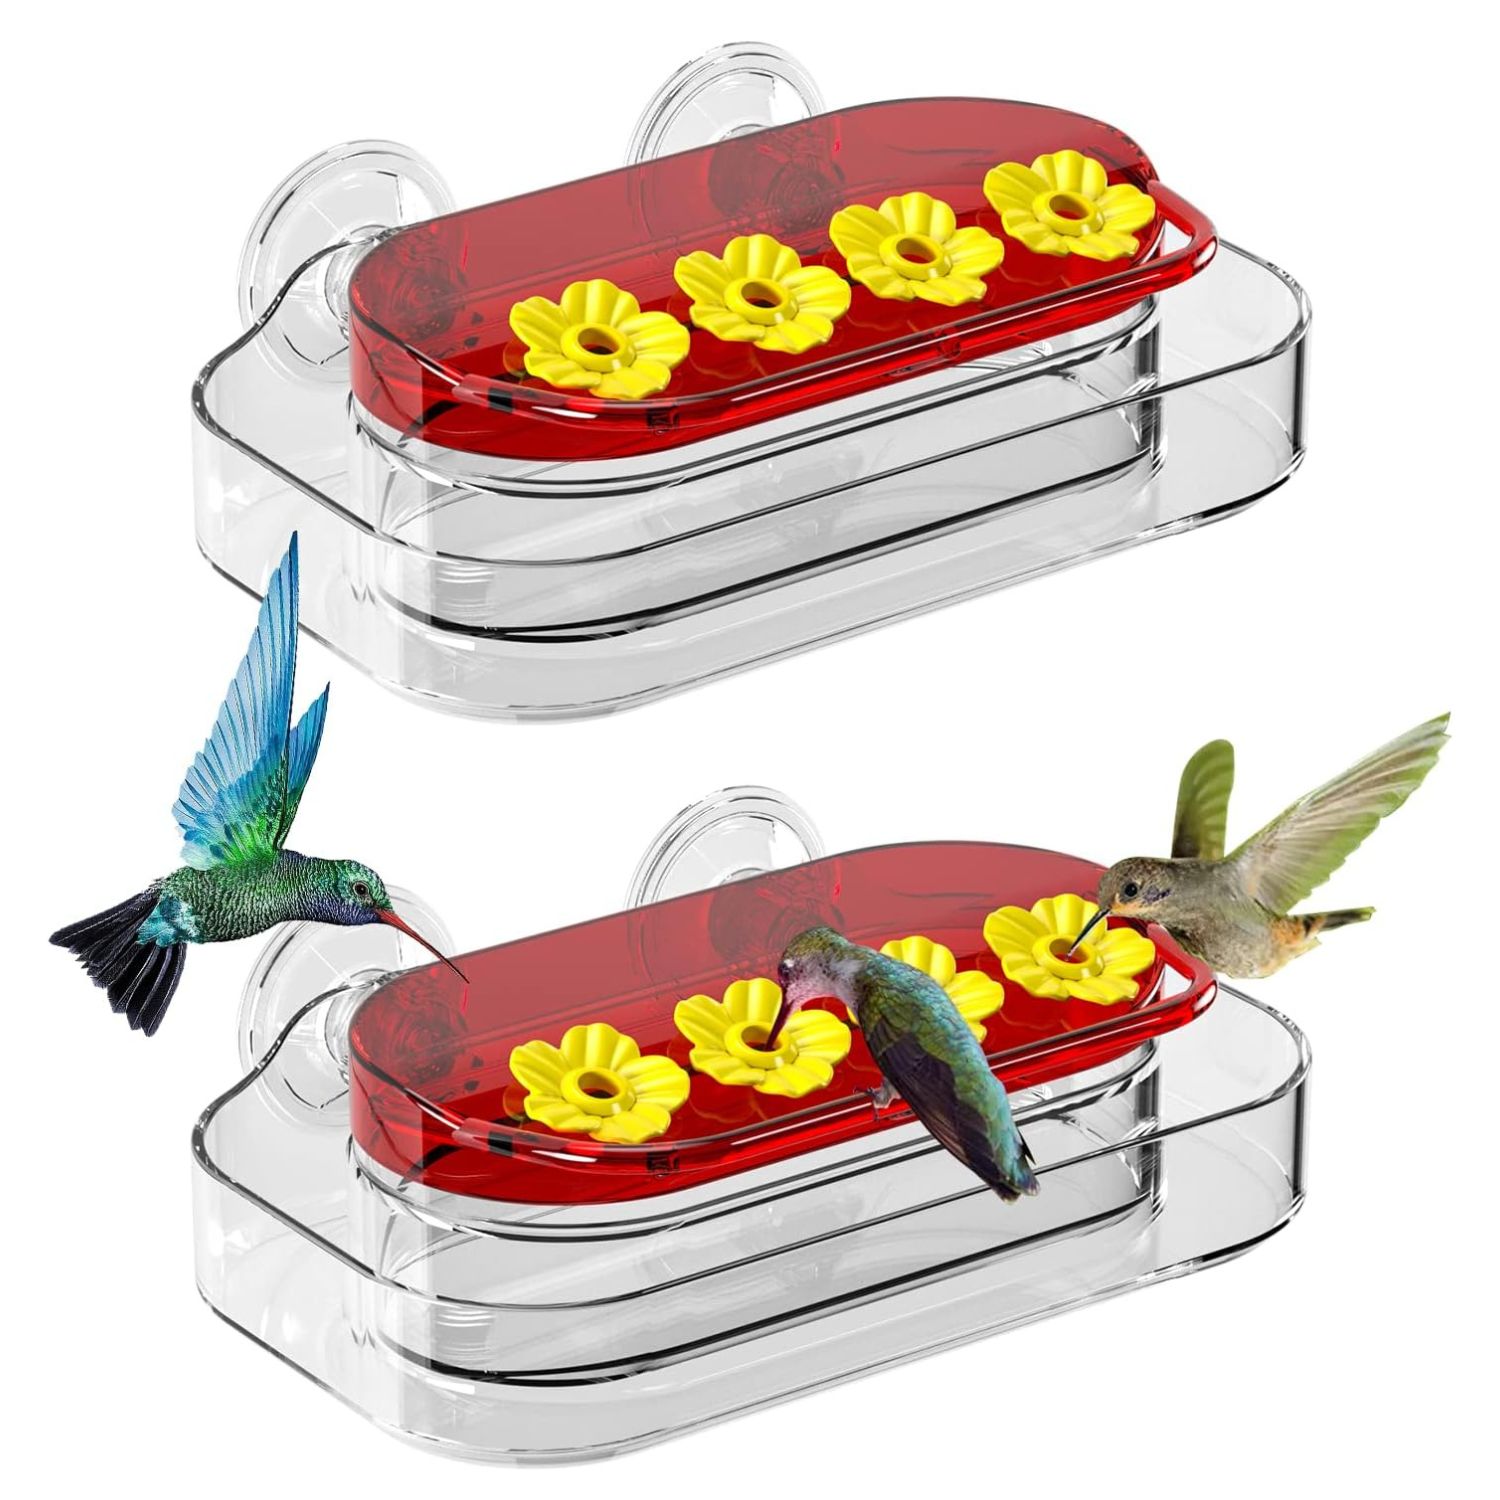
At Green Living Modern World, we independently select and write about products that we love and think you’ll like, too. The pictures below contain links to some of our favorite hummingbird feeders that the birds love which include hanging feeders as well as window feeders. We have affiliate and advertising partnerships so we may receive revenue from a purchase made using our links.

For a Simple Hummingbird Food Recipe

Check out our companion article “A Simple Hummingbird Food Recipe” that you can make in minutes.


Views: 3

Simple Hummingbird Food Recipe You Can Make at Home

Simple Hummingbird Food Recipe You Can Make at Home

Warmer weather has finally arrived (yay!) and with it comes the annual migration of hummingbirds zipping about.

The hummers start arriving as early as late April and into early May. They head south again around September.

A couple of years ago, I decided to attract hummingbirds to the yard – they’re so fun to watch!

I found a couple of feeders to hang in my tree, but wanted to make sure that I didn’t put anything harmful in it for the tiny flyers, so I got online and checked out a few sites for hummingbird food recipes.

I scored big when I came across this super simple recipe. Best of all it’s easy and basic – the way it should be – NO DYES or other unnecessary ingredients.

According to the Smithsonian’s National Zoo & Conservation Biology Institute, the recipe goes like this:


The Recipe


Ingredients

  • Refined White Sugar (yes – white sugar)
  • Water
  • See exact measurements below

Directions

  1. Stir 1 cup of sugar together with 4 cups of water until the sugar is dissolved. The sugar will melt in room-temperature water fairly fast so there’s no need to heat it first. Stirring thoroughly will help the sugar to dissolve quicker. Walk away for a few minutes, come back and stir some more until it’s ready to pour.
  2. Do NOT add red dye. It’s not good for the birds and it isn’t necessary. If anything about your feeder is red, that’s good enough. 
  3. Fill your hummingbird feeders with the sugar-water and refrigerate any extra sugar water in a glass bottle between refills. It will last about 2 weeks.
  4. Placement: Hang the feeder(s) outside in a cool or shady spot but still visible. Warning: If the feeder is in the direct sun all day, there’s a greater chance of attracting wasps, and the birds will eventually quit visiting. I found out the hard way last summer when one of my feeders was covered with wasps.  ALSO, after several days in the sun the sugar-water will become alcoholic  – another turn-off for the birds.
  5. Refill feeders every few days or as needed.
  6. Be sure to thoroughly clean the feeders often. Hummingbirds are susceptible to infections so clean your feeders regularly and help keep these little guys healthy.


What are the Best Hummingbird Feeders?

Surprisingly, some of the best feeders to attract hummingbirds turns out to be the same inexpensive feeders that are sold everywhere – as long as a couple of specific  features are included. Check out our companion article “Best Hummingbird Feeders” to find out what those features are, and to also see other beautiful feeders that we found.


Views: 3